After playing out the Battle of Alnoth yesterday I found myself struggling with the rules as I have with so many previous sets of rules I have used for Deathzap. While streamlined they felt slow. I think this is because alternate unit activation does get bogged down with larger numbers of units. They also lacked a certain sense of ‘play’. I think (at least for me) with wargaming we’re trying to capture something of the battles we played as children before the we lost that sense of ‘play’, and dice can be a route back there. But sometimes the dice are too clunky, too tactically cold and lack that sense of daring-do.

So I tried to simply things even further.

The game then is played in turns, each turn being made up of 3 phases and played in the order listed below.
PHASE 1: Movement
Roll off to determine which side moves first.
Infantry and Heavy Vehicles 6”
Monsters 9”
Vehicles and Beasts 12”
PHASE 2: Shooting
Shooting is resolved for both sides simultaneously. First roll 1 die to hit for each gun firing, then your opponent makes saving throws for each hit. Each failed saving throw results in a casualty.
4+ to hit a target in the open when the shooter has cover. 5+ to hit a target in the open when the shooter has no cover. 6+ to hit a target in cover. Basic shooters roll a D6, regulars D8, veterans D10 and elites D12.
If a hit is achieved the target makes a saving throw needing a 4+ if hit by small arms and a 6+ if hit by a destroyer. Targets with no armour/shields roll a D4, light D6, medium D8, heavy D10, very heavy D12.
Firing repeaters – Select an enemy figure and then measure any no. of whole inches out from them. You can roll to hit all figures within that range, however that range also counts as a negative modifier to your hit rolls.
Throwing grenades – 12” range maximum. Roll to hit as normal, and if a hit is achieved then all enemies within 2” of the figure hit are also automatically hit.
Firing destroyers at buildings – 4+ to hit the building. All enemies inside the building then make saving throws as if hit by small arms. For larger buildings divide them up into sections, only hitting all figures within a section.
Vehicles and Monsters – Vehicles and Monsters can only be harmed by shots from destroyers and grenades.
PHASE 3: Melee Combat
When two figures come into base to base contact immediately resolve their fight. Roll the melee die of both fighters, with the higher roller killing their opponent. Reroll ties. No saves allowed!
Melee dice are the same as dice for shooting – Basic D6, Regular D8, Veteran D10, Elite D12. Beasts get a +2 modifier and Monsters a +4.


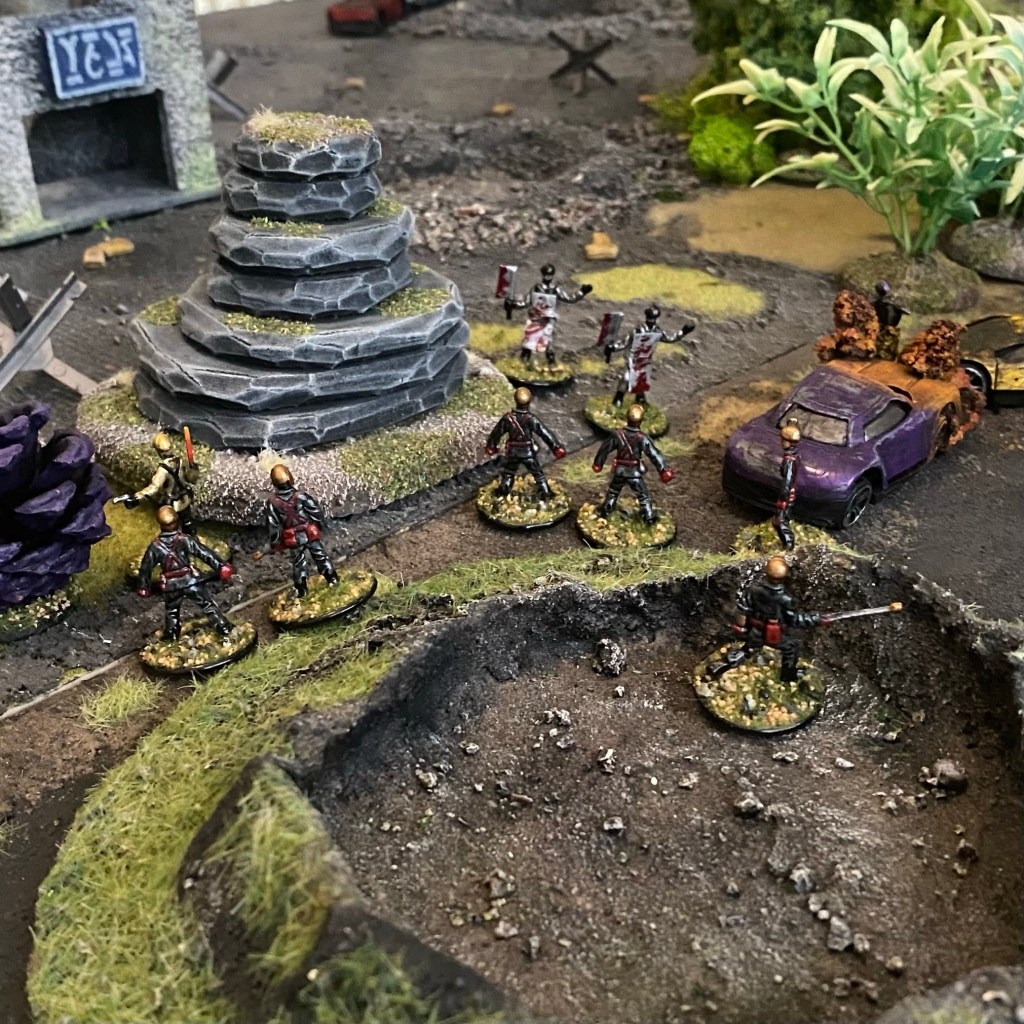
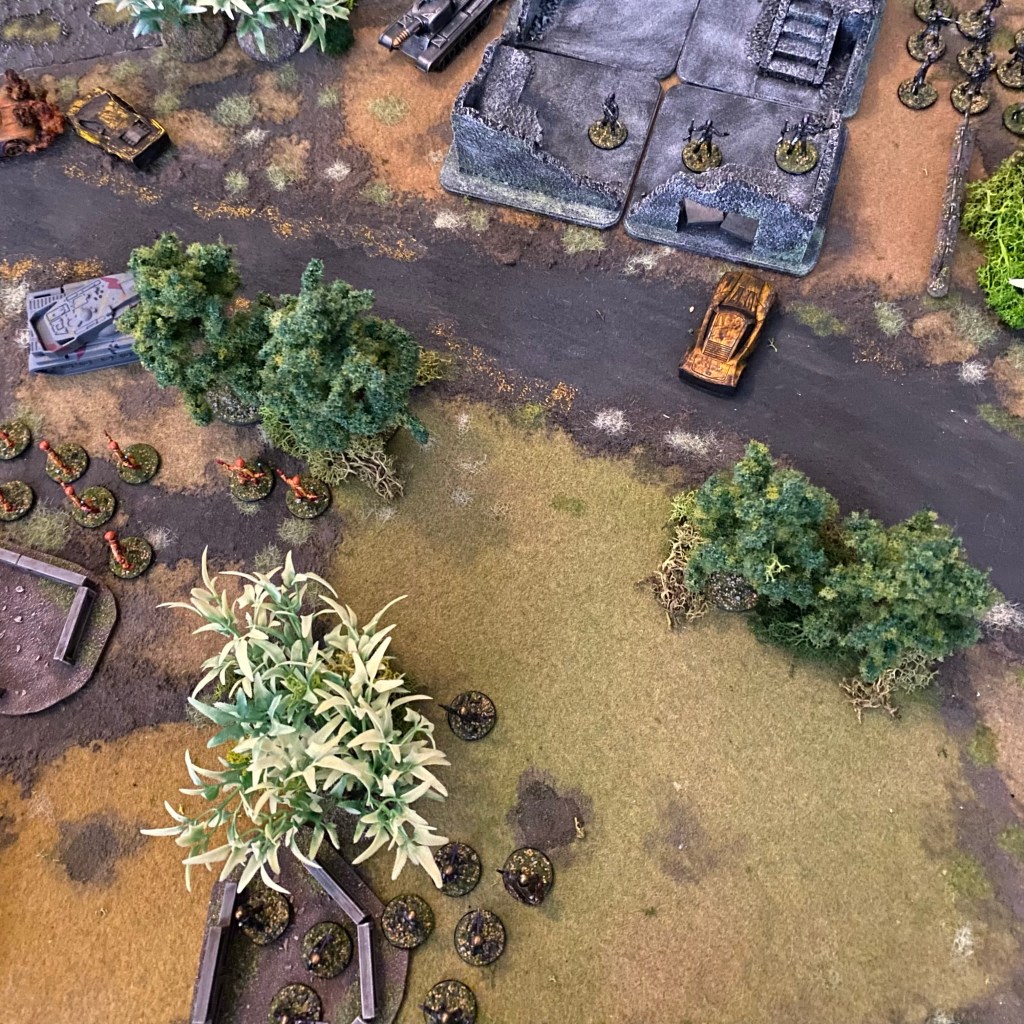
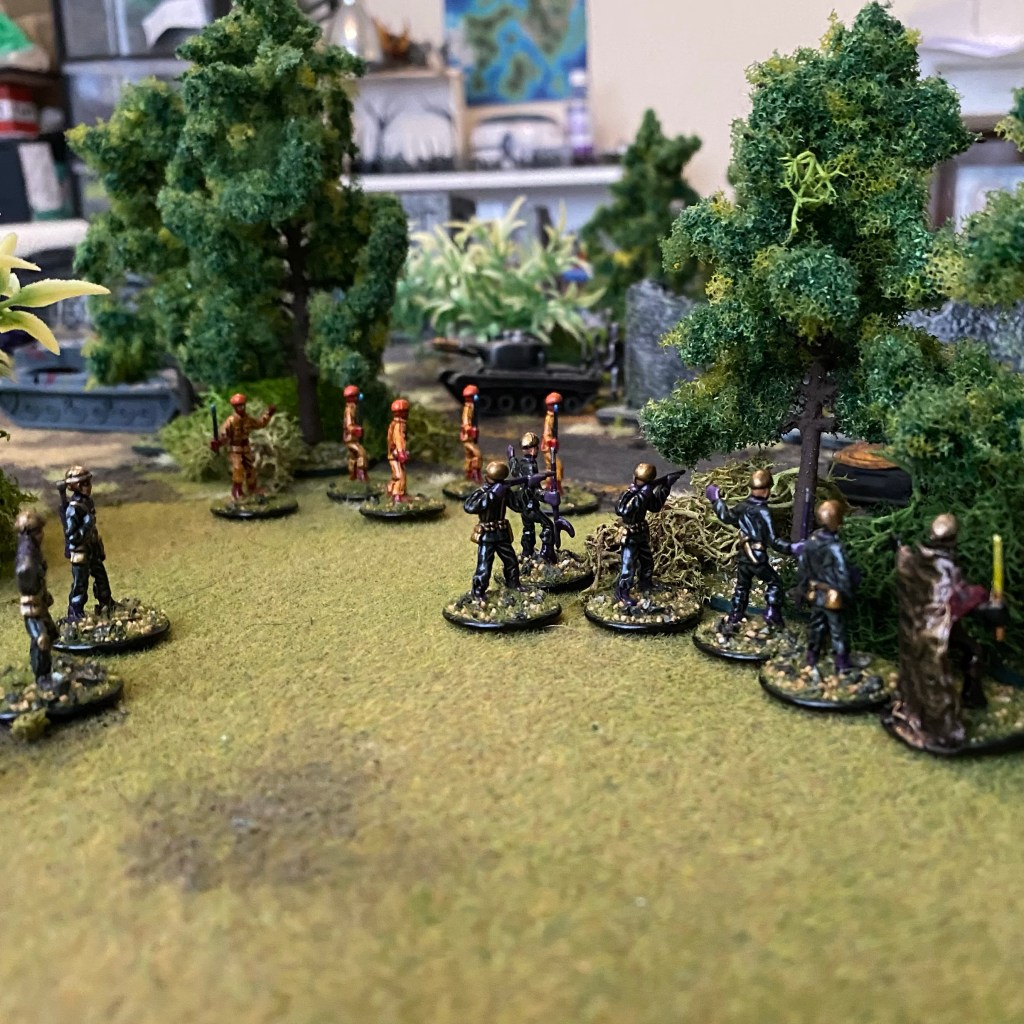
The quick battle I played out today worked well enough, and had more of that sense of ‘play’, with many more crazy moments, lucky shots and fumbled grenades. The whole thing told a better and far less predictable story.

I also suspect it will play smaller scenarios quicker and better than former versions of my Deathzap rules which I’ll have to try later this week.