Gearing up for some serious Deathzapping in 2025 means I need to settle on some rules. I recently had an obsession with Deathzap 3, the rules which over time I’ve probably played the most. They are decently compact, and tactical, but I couldn’t help finding my Advanced Deathzap rules so alluring. I suppose going for more of a simulation and less of a game is particularly exciting when you’re delving into your own universe.
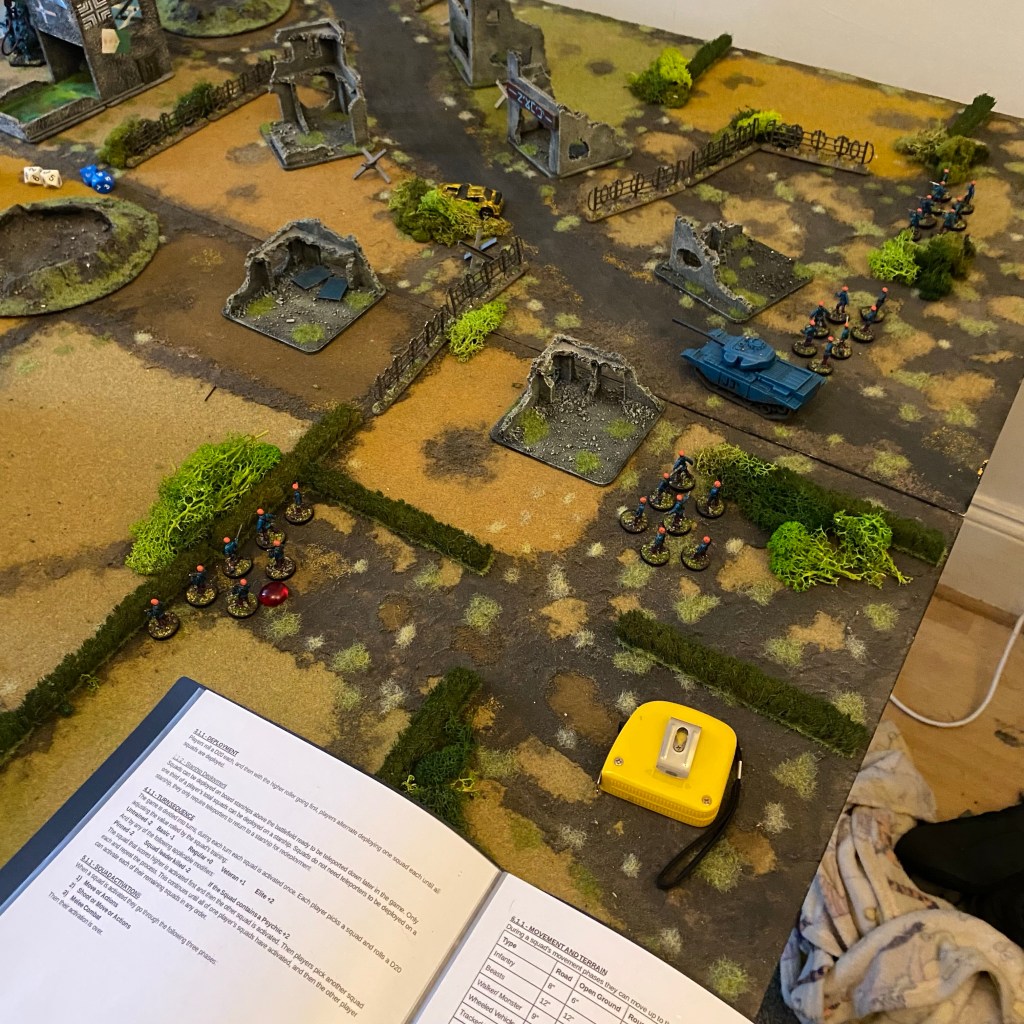
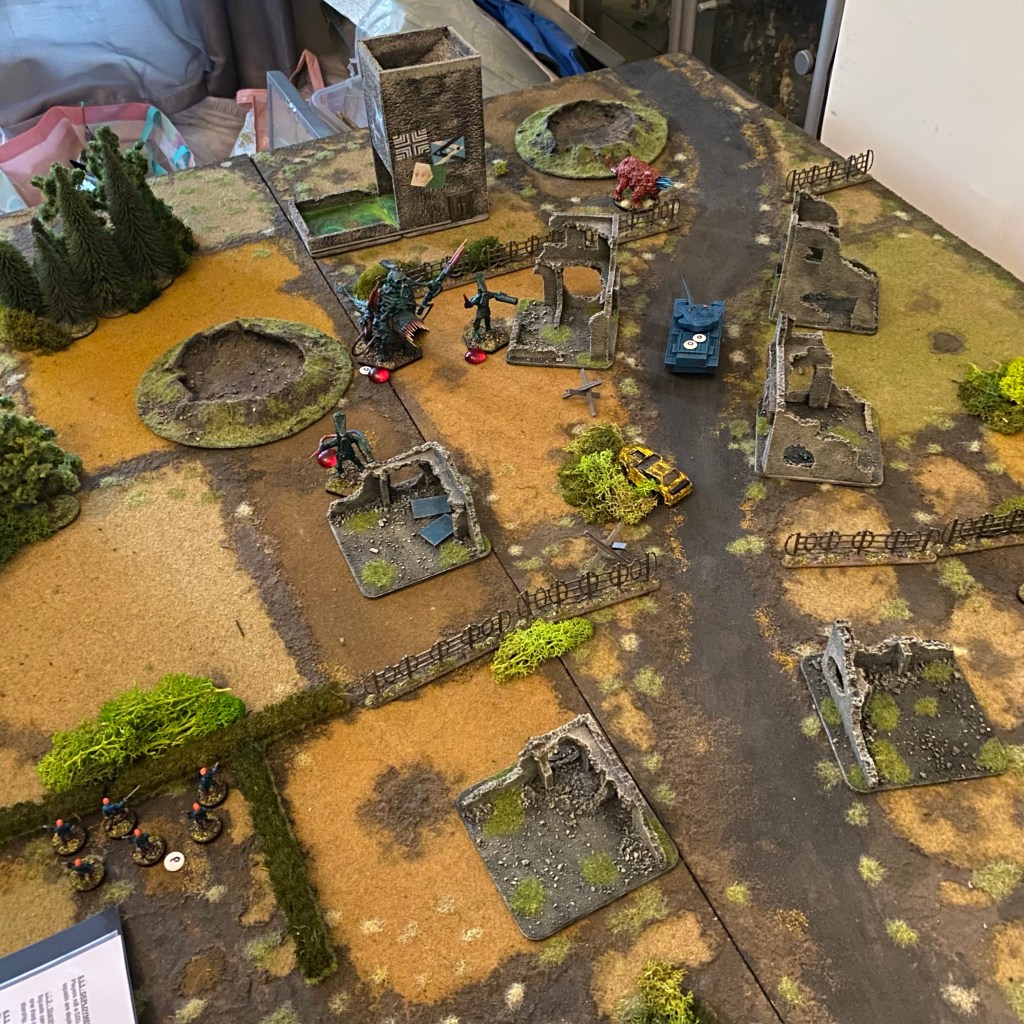
To get my playtesting off of the ground I went for a pretty simple scenario. The JDA just have to get their tank off of the board on the Selenoids’ side. The JDA had a Beam Tank and four infantry squads and the Selenoids had four Selenoids, a Gunlord and a Gunbeast. I was extremely curious to see how things would balance as the Selenoids have always had trouble in my games since their inception.
https://deathzap.co.uk/2018/05/31/a-song-of-solrads-and-selenoids/
That’s an odd post from 6 years ago!

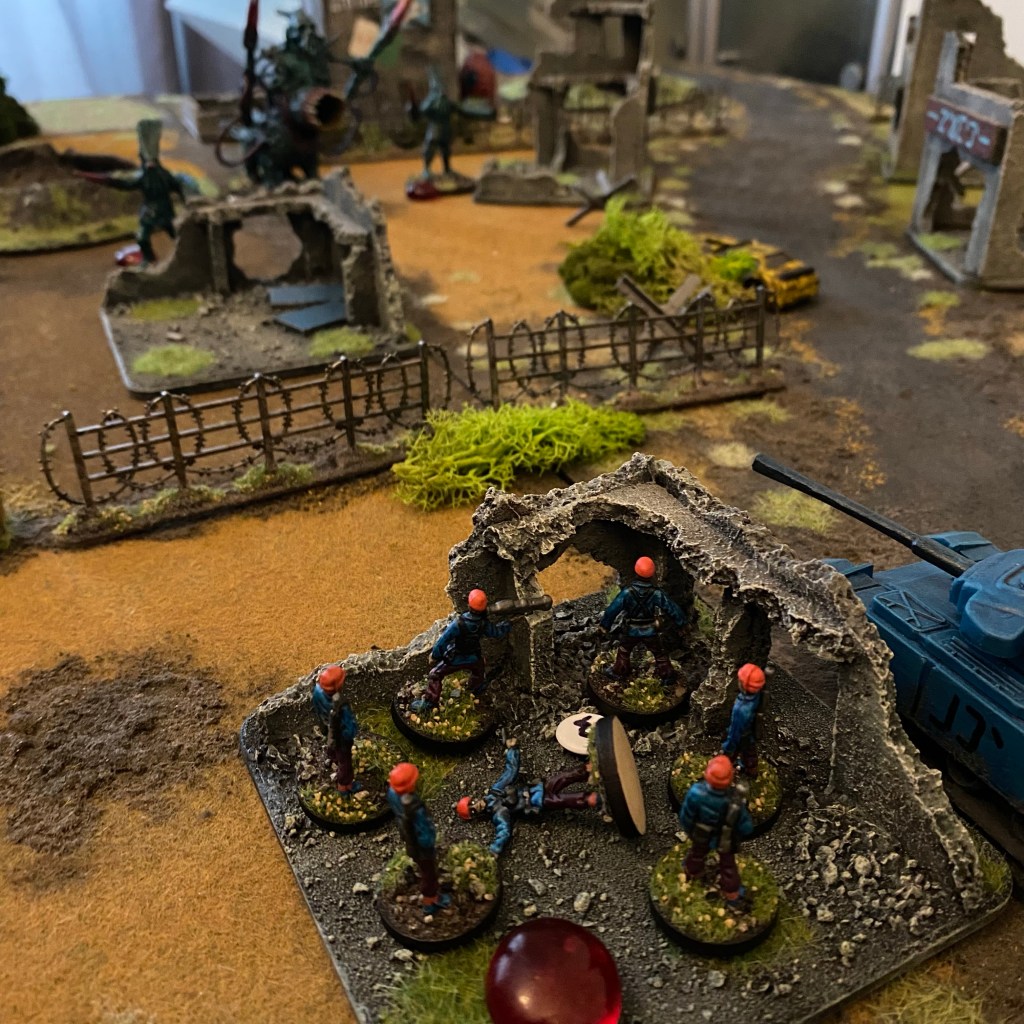
Early on I could see things going south for the Selenoids, they lost a guy almost immediately, and knowing a single unfortunate hit could kill each of them at any time I wasn’t sure they could tough out the fight ahead.
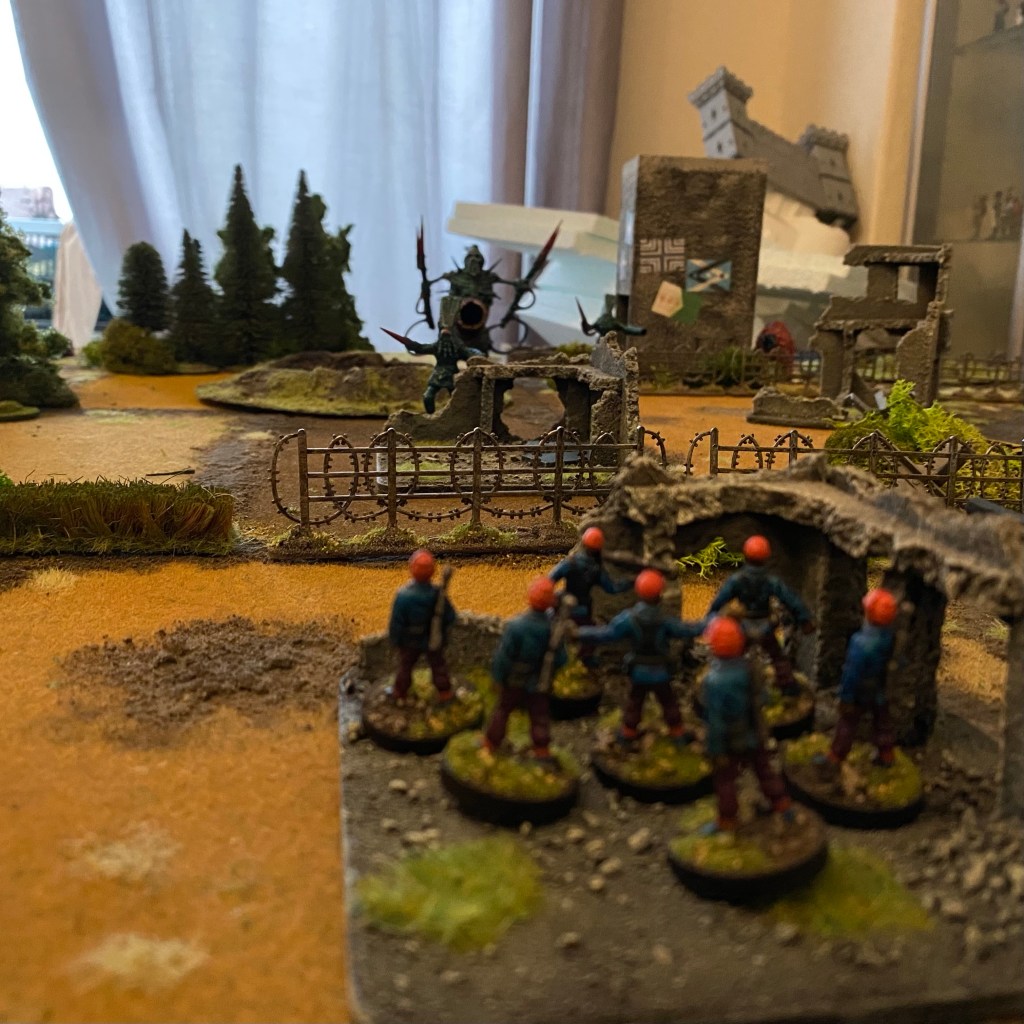
However once the poorer training of the JDA began kicking in I was a bit more confident. Squad after squad of humans either became pinned our routed after only a couple of casualties (probably not far off reality which is good).

Of course the best thing about a playtest is that I had some difficult questions to deal with, holes in the rules that needed plugging.
For example, if you roll low enough when shooting your weapon either overheats or jams, and this requires repairing before using again. The challenge I stumbled across was the difference between this happening to monsters and vehicles. A monster is a big single entity, whereas a vehicle has a crew. So if a monster has multiple overheated or jammed weapons you would imagine it could only repair one per action it performs, whereas a vehicle could repair as many weapons as it has crew per action. This does mean I’ll probably need to figure out how many crew each vehicle has, the difference more crew members make in a vehicles points value, and adjust the vehicle damage table for individual crew casualties.
Another issue I stumbled across was the difference between fully automatic weapons and scatter shot weapons like shotguns. In the rules both have multiple shots. But that pesky overheat/jam rule should kick in differently for those types of weapons. A fully automatic weapon could overheat after any individual shot, meaning you should roll each shot individually until you overheat or run out of shots. Whereas a scatter shot weapon should fire all shots at once and then either overheat or not if one of its shots rolls low enough.

All in all the game played out surprisingly quickly, even for an attempted simulation. The rules previously were slowed down a lot by my activation system. You rolled a D20 for each unit, added modifiers and then units activated in order from high to low. as you can imagine with a lot of units this is a long process. This time round however I picked a unit for each side, rolled for them adding any relevant modifiers, and then the higher rolling unit could chose to go first or second out of the two units. Then once both units have activated you move onto the next two. I’m looking forward to more playtesting and more Deathzap in the new year!

Yes! More Deathzap! I’ve been playing a little of it myself, working into the prelude of a 5 Parsecs campaign alongside a simple strategic conquest system.
(BTW currently the article seems to have cut off a couple sentences at the end)
Thanks for the heads up!
Wow! Since you’ve popped up as ‘anonymous’ are you blogging that anywhere?
Nope! Maybe I will start, just to keep a record of things.
Let me know if you do.