Terrain building a what really got me into the wargaming hobby many moons ago, and after a short hiatus to play video games as a teenager terrain was what brought be back in my early 20s. Terrain can be frustrating though. Shop bought items can be rather pricey and home made stuff can be just as expensive if you get decent materials, is normally time consuming and sometimes just doesn’t work out. So I’m always on the hunt for quick and effective terrain projects that anyone can do with some very very basic equipment.
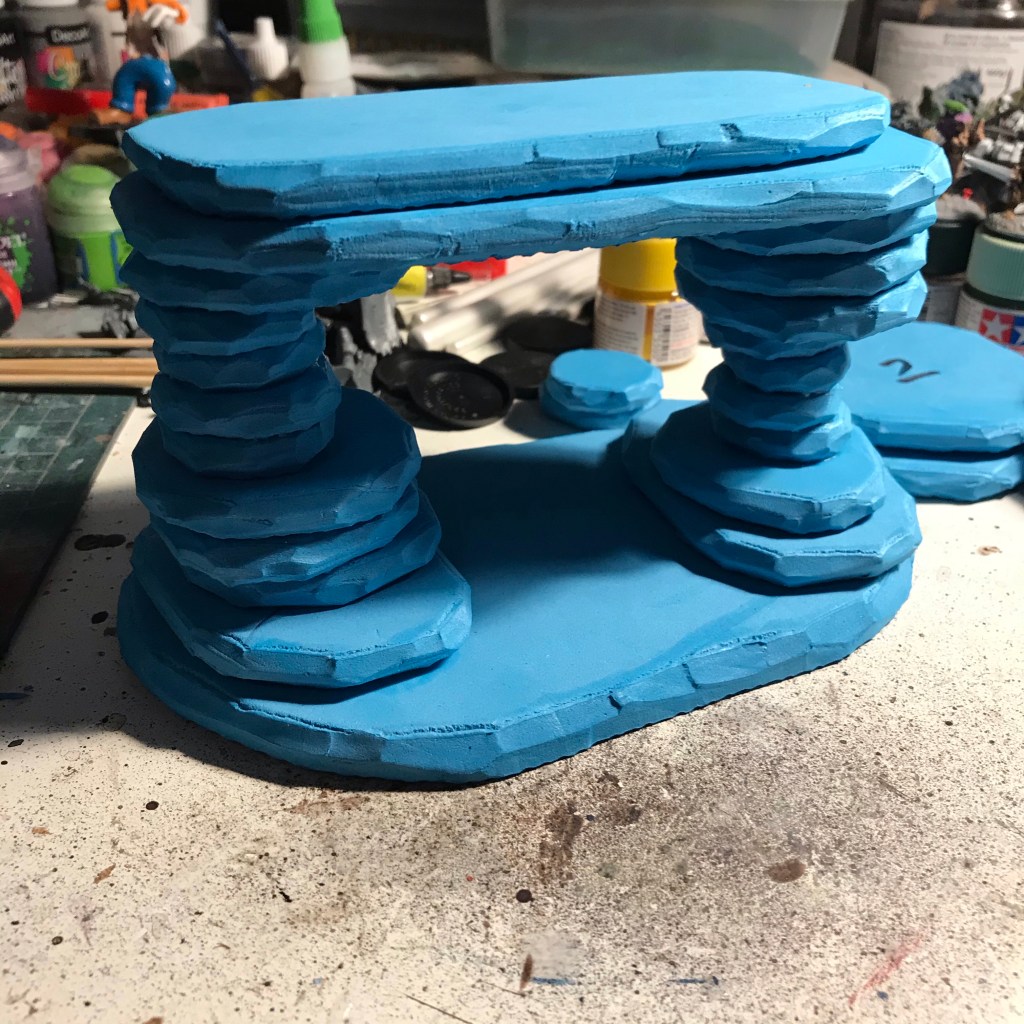
You know those foam floor tiles you can get that interlock with each other? Grab some of them and randomly cut out sections I found to begin with it was much easier with a knife. I stacked up several piles of differently sized squares. Then using a sturdy pair of scissors I cut them into irregular round shapes. Then using that same pair of scissors I bevelled the edges, but kept everything irregular. Make sure you only bevel one side of some of your larger pieces so you can use them as bases.

Then using some bamboo kebab skewers I started making kebabs out of my foam shapes, making sure to put lots of PVA glue between each layer, and making sure that the textured side of the tile was facing downward.

I then glued sand on some of the larger flatter areas with pva, waited for it to fully dry and then coated the sand again with watered down pva (50/50) to lock it all in. Everything was spray painted black (if you buy black tiles to begin with this is much easier), and then over brushed with a cheap grey acrylic paint. The sand was picked out with brown, and then the entire thing was dry rushed with a bone colour. I also like to use cheap emulsion tester pots, the colours are often nice and they can give really good coverage. I then added some cheap green flock (this is the green sawdust variety) which I apparently have tons of for some reason, and then some yellowish static grass.

The painting and texturing comes back to my firm belief that to make a miniature’s base or piece of terrain look good you need three elements. Here I’ve got the sand, the flock and the static grass. On a lot of my miniatures I’ll use sand and then two different colours and lengths of static grass like my Minifigs here:

So if you’re ever doing some basing or terrain building and things aren’t looking quite right try my three elements technique.
All in all I probably spent a few hours on this project over the course of a week, and I’m really happy with results and have enough pieces from it to suitably fill a Killteam board.
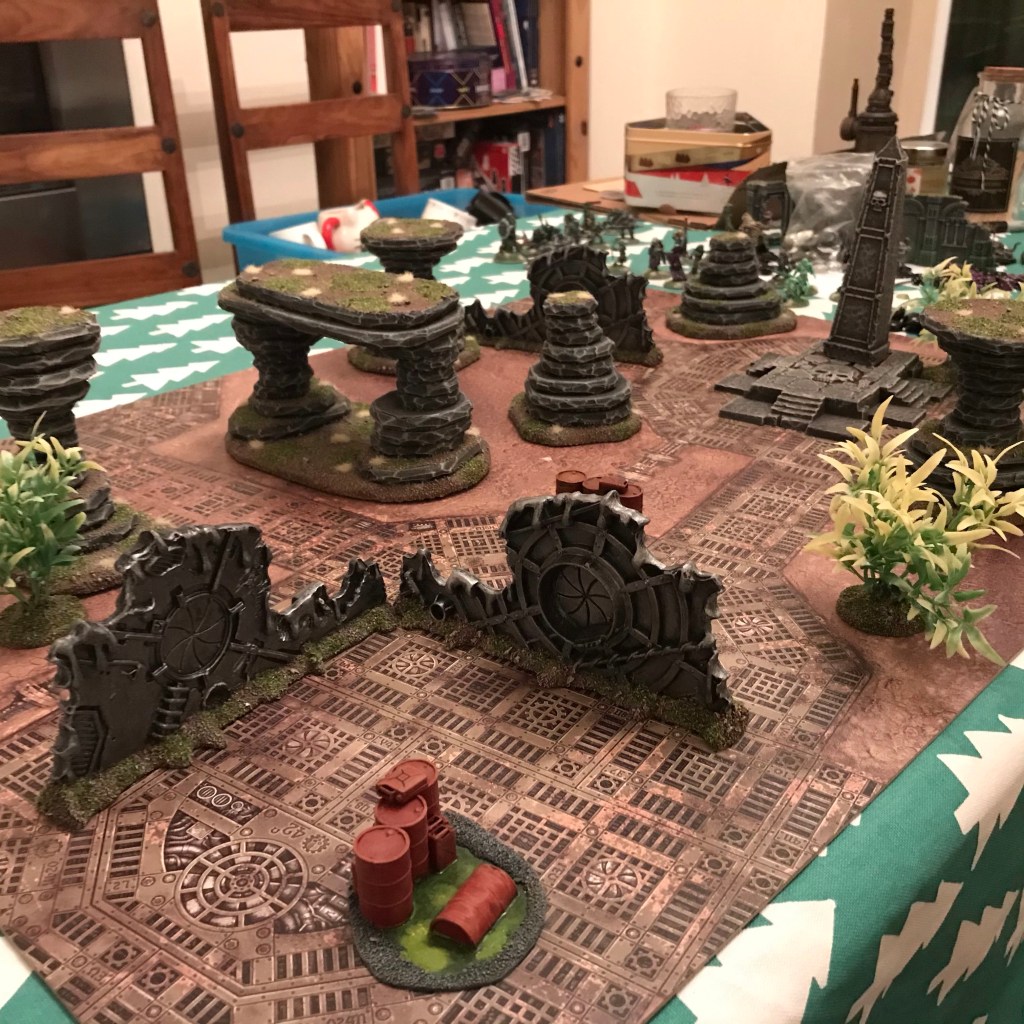
I’ve got another tile to work on and I’m excitedly thinking about the possibilities.

Those look great to me.
Cheers,
Pete.
Excellent, the rule of three seems to work on all sorts of stuff, three shades to highlight, three meals a day, three pints of beer. Nice looking board, Padre!
Regards, Chris.
These look fantastic! We used to do that old kebab stone trick, but these look more sturdy and more realistic.
These look fantastic; I’ve got to give it a go at some point, thanks for posting.