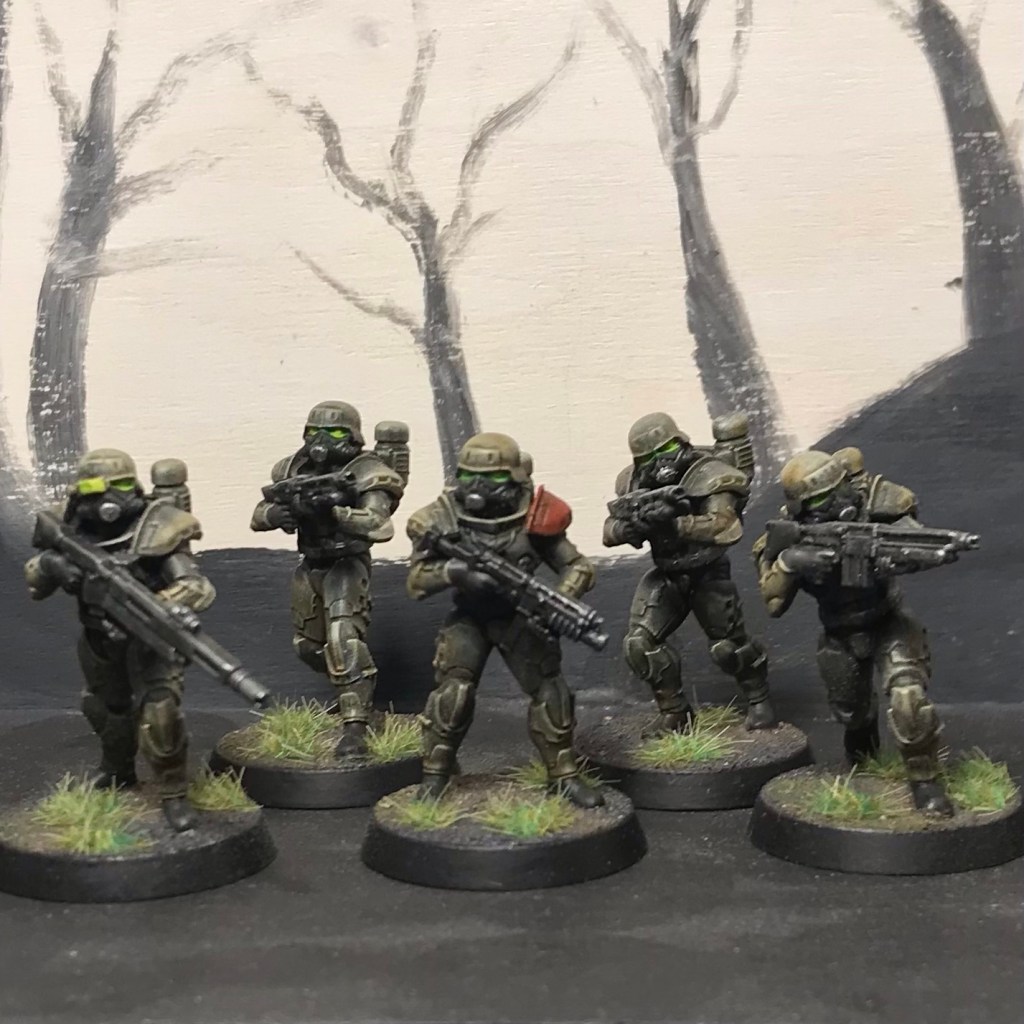
Since I’m still figuring out how I’m going to dissect these rule sets I might as well start with something simple. Oh and I’ve now painted all the Eisenkern Stormtroopers for this project:


Close Wars is really not designed for sci-fi, but the advantage of such a simple rule set is that simple adjustments can be made. The actual rules don’t even have a turn order included as I imagine they were mostly a solo or extremely friendly affair. So I opted for a very Featherstone turn order:
Side A Moves, Side B Shoots, Side B Moves, Side A Shoots.
And I’ll resolve Melees as they crop up.
I’ll explain the rest of the rules as I go along, and I’ll be using the basic scenario included:
Troops begin from their respective baselines, their objective being to seek out and destroy the enemy or to get at least 50% of their force onto their enemies baseline.
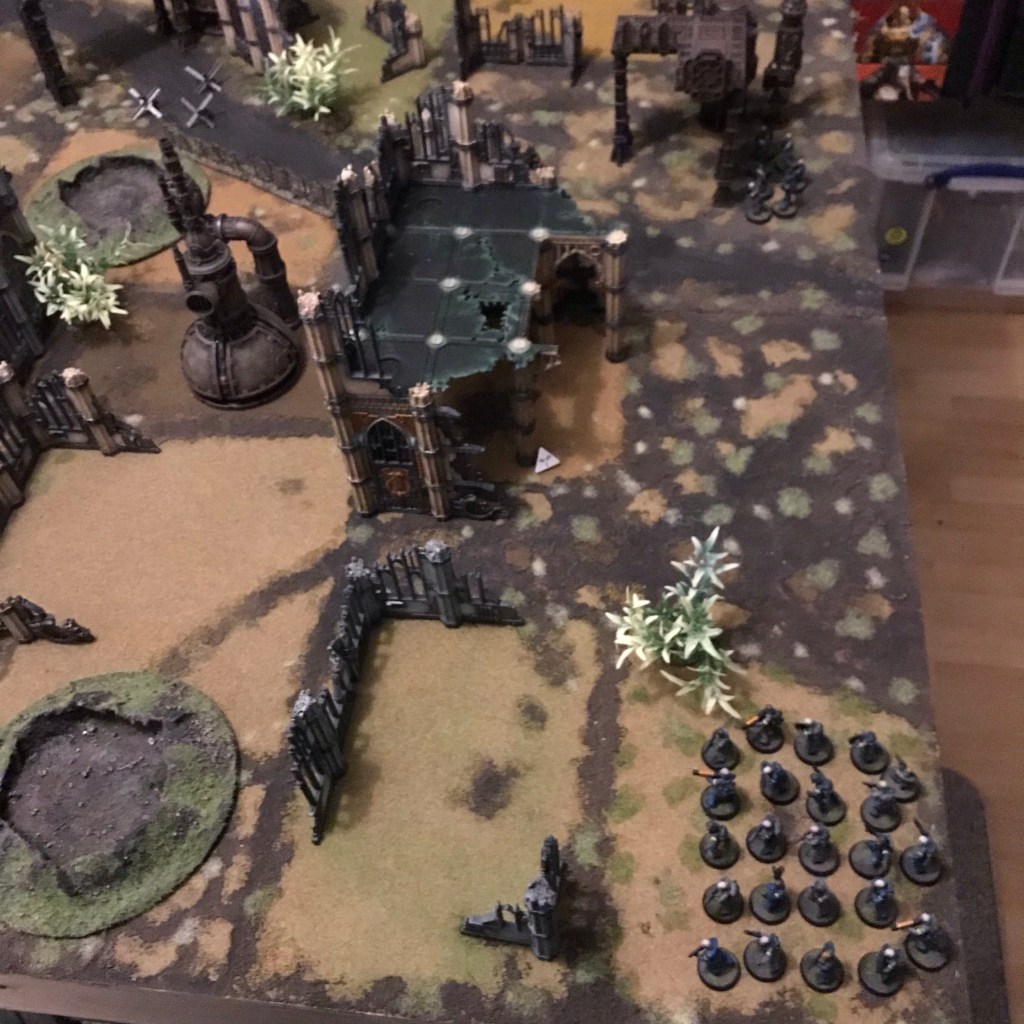
I’ll be playing on a 4’x4’ board. Deployment zones (base lines) are 6” in from the edge. I deployed the figures on each side randomly, dividing them up into squads and then rolling a D4 to see which of the four feet of their edge they would appear in.

In Featherstone’s rules which are designed for fighting skirmishes in the French and Indian Wars, there’s a distinction between the movement rates of ‘Natives’ and ‘Troops’.
Natives, 9”.
Troops (in threes or less), 9”.
Troops (in numbers greater than threes), 6”.
I gather that Donald was suggesting groups of troops larger than three would be moving in some kind of formation rather than skirmishing hence the reduction, but since I’m playing out a future scenario I allowed all troops to move 9” regardless.

One thing I hadn’t expected, but probably should have predicted was the low casualty rates from shooting. Featherstone here is modelling Musket fire, so the low casualty rates make sense:
Range is 12” if the field of fire is clear. One die is thrown for each man firing and a 6 scores a hit. If the firer is under cover whilst the target is in the open, then a 5 or 6 will secure a hit.
Each casualty has the chance of only being wounded and fighting on. Each man has a die thrown for him, a 4, 5 or 6 means that he is only wounded and carries on. If the casualty is under cover then he is saved by a 3, 4, 5 or 6.
I made the following modifications for my weapons:
Pistol (Cannon Fodder Leaders) – 12”
SMG (Eisenkern Leaders) – 12” (roll 3 dice to hit)
Auto-Cannon (Eisenkern Heavy Weapon) – 36” (roll 3 dice to hit)
Plasma Cannon (Fodder Heavy Weapon) – 36” (-3 to saving throws)
All else – 24”
The Stormtroopers also get a +1 to their hit rolls and saving throws and a +1 in melee.
So as not to write out the surprisingly lengthy melee rules basically you pair off combatants as evenly as possible. So if one side is bigger a single man may have to fight multiple opponents. Roll a die for each figure and the higher roller hits their opponent. In uneven fights a single fighter will hit all enemies that roll lower than him but will be hit by a higher roll. You still roll saves in melee.
If one side ambushes another they get +1 to all their die rolls, this is called the ‘impetus bonus’. If neither side ambushes then you randomly determine which side gets the impetus bonus.
After the melee you roll a die for each side multiplying it by the number of men they have remaining. Higher scorer wins the melee and the other side retreats a full move. Roll for the retreating side on a 1-3 they are routing and on a 4-6 they are in good order. I’m not really sure what Donald means by ‘routing’ in the mechanics of the rules themselves so I’ll probably just remove any routing figures from play.
Oddly you’re not told what to do in the case of a tied combat where two figures roll the same result. You could re-roll the fight, but in the case of a multiple combat you might have to re-roll a single fight multiple times, so instead I opted to say that both figures hit each other and so both make saving throws.
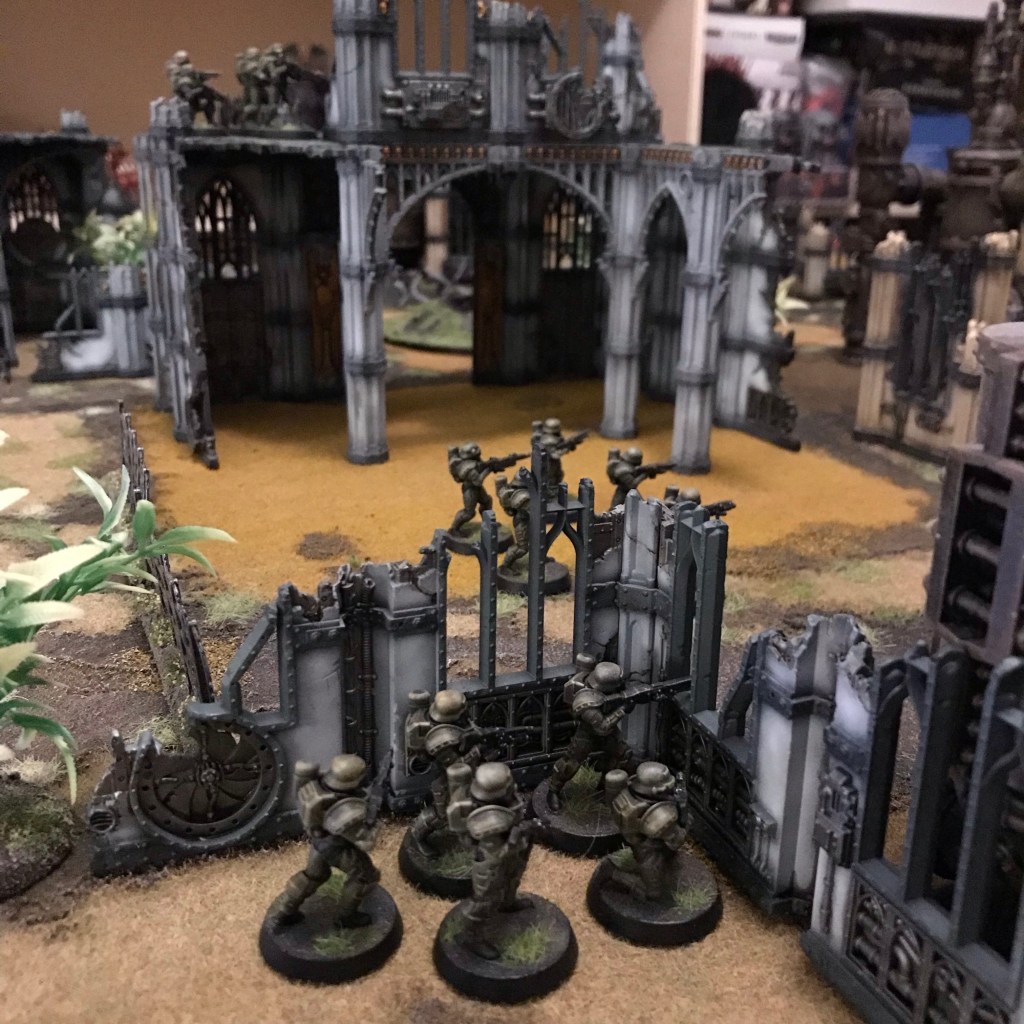
After a few turns here’s where we stood:

Having played out a few melee combats, I appreciated the speed of the rules, but found they created odd situations (at least odd to me).


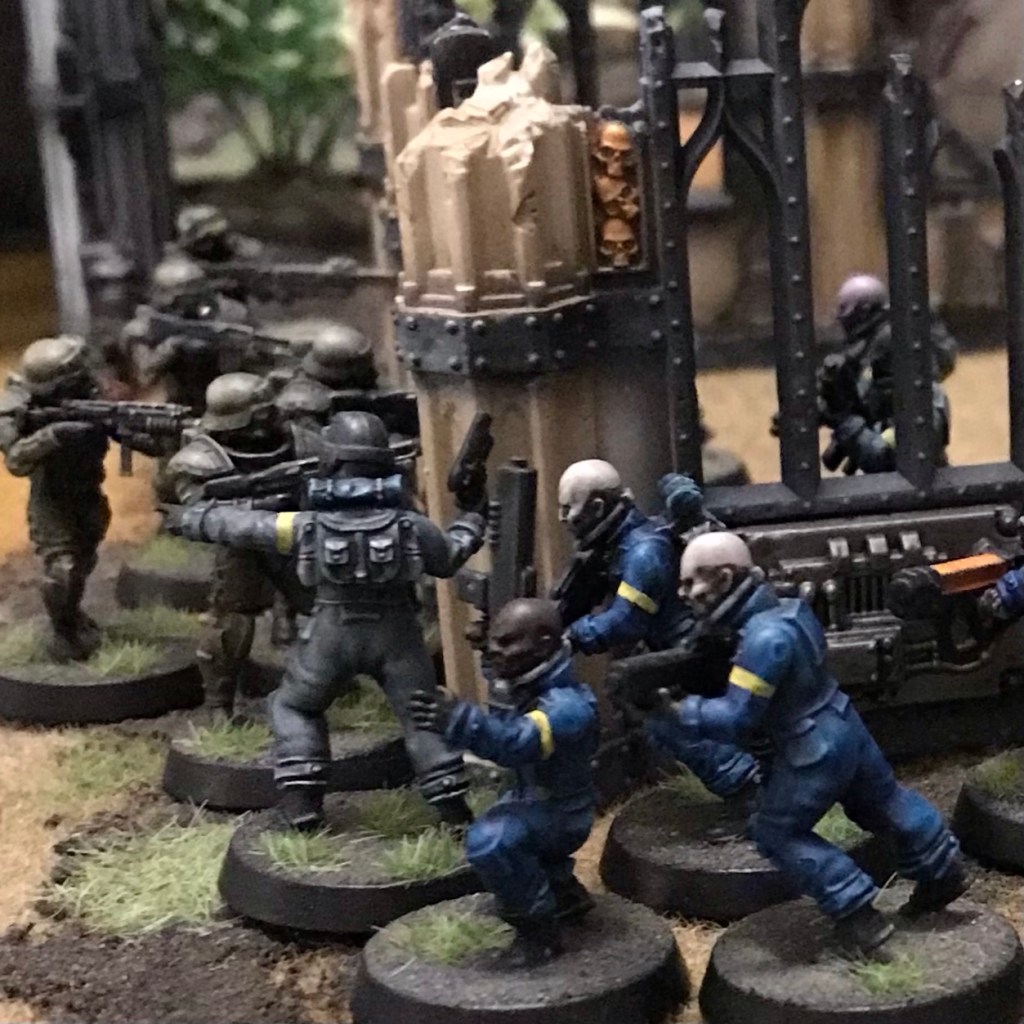
After two big fights there were only three Fodder left and thinking it was unlikely they would be able to kill all of the Eisenkern they fled and chose to fight another day.
I suppose in conclusion, Close Wars aren’t really a set of rules, but a core you can hang stuff off of to build your own rules. Which is really what I do a lot of on this site, so I can’t knock it.
As previously mentioned if I were to continue using these rules I’d have to alter how melee worked, it just seemed to lead to too many strange things. I’d have also liked an element of suppression to be in there so I could get some fire and movement rolling, but since that seemed to be invented by the Boers (correct me if I’m wrong), it’s unlikely to show up in some French and Indian Wars rules.
It would be unfair to score Close Wars, as I said it’s not designed for what I was using it for (and I don’t think I’m scoring things yet anyway) but it’s certainly worth a look if you’re after something quick and easy or if you want to use it as the core of your own thing. As far as I’m concerned it’s a nice bar to compare other rules to moving forwards.

Interesting post! Since the Cannon Fodder are inferior to the Eisenkern in every way (the clue is in the names!), I guess the only tactic that might have saved them would be to isolate and swamp small units of the Eisenkern – but then no self-respecting Eisenkern player would allow that to happen.
Agreed, a mad dash across the table and into melee was probably their best bet.
How about using the number of casualties as the decider of the melee – highest routs / retreats?