Deathzap 3 was probably my favourite of the ‘simpler’ versions of the game. I like to imagine it as that easy to learn, difficult to master type thing, but you’ll always have rose tinted glasses when it comes to your own games.
I played a game this morning of the latest version I could find, not seen before in the flesh on this blog, the current Deathzap 3 on here is actually the very first version.
The game itself was quick and interesting enough, with good use of somewhat realistic tactics at play (at least fire and movement works).
So here’s the goods:
DEATHZAP 3 2nd EDITION
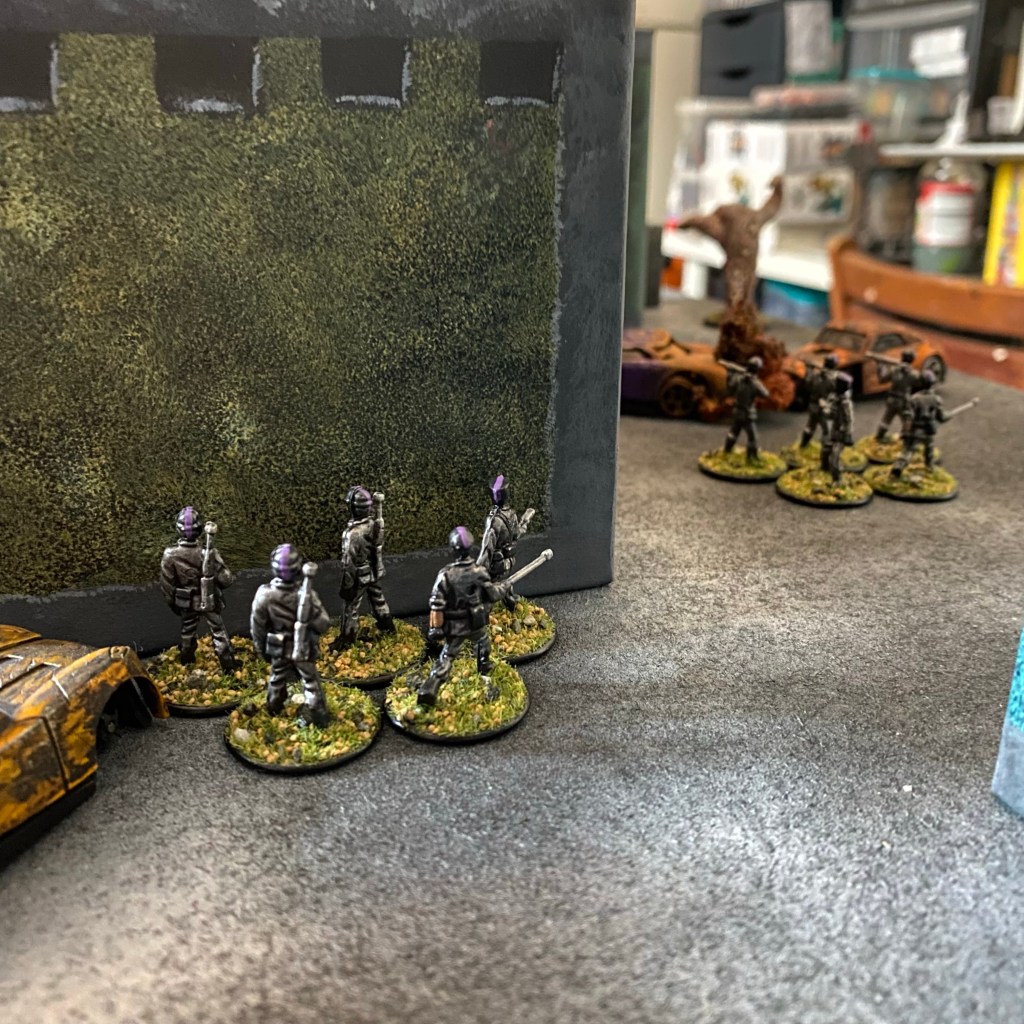
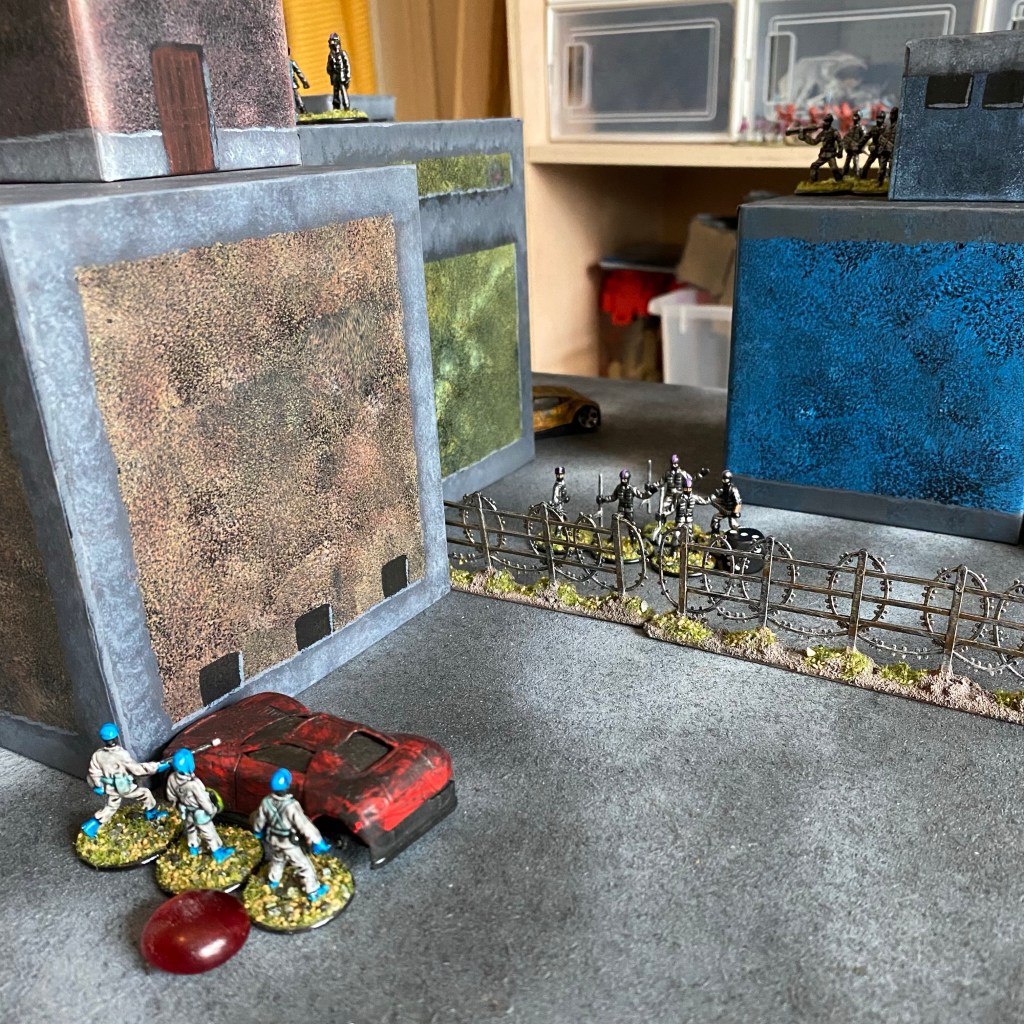
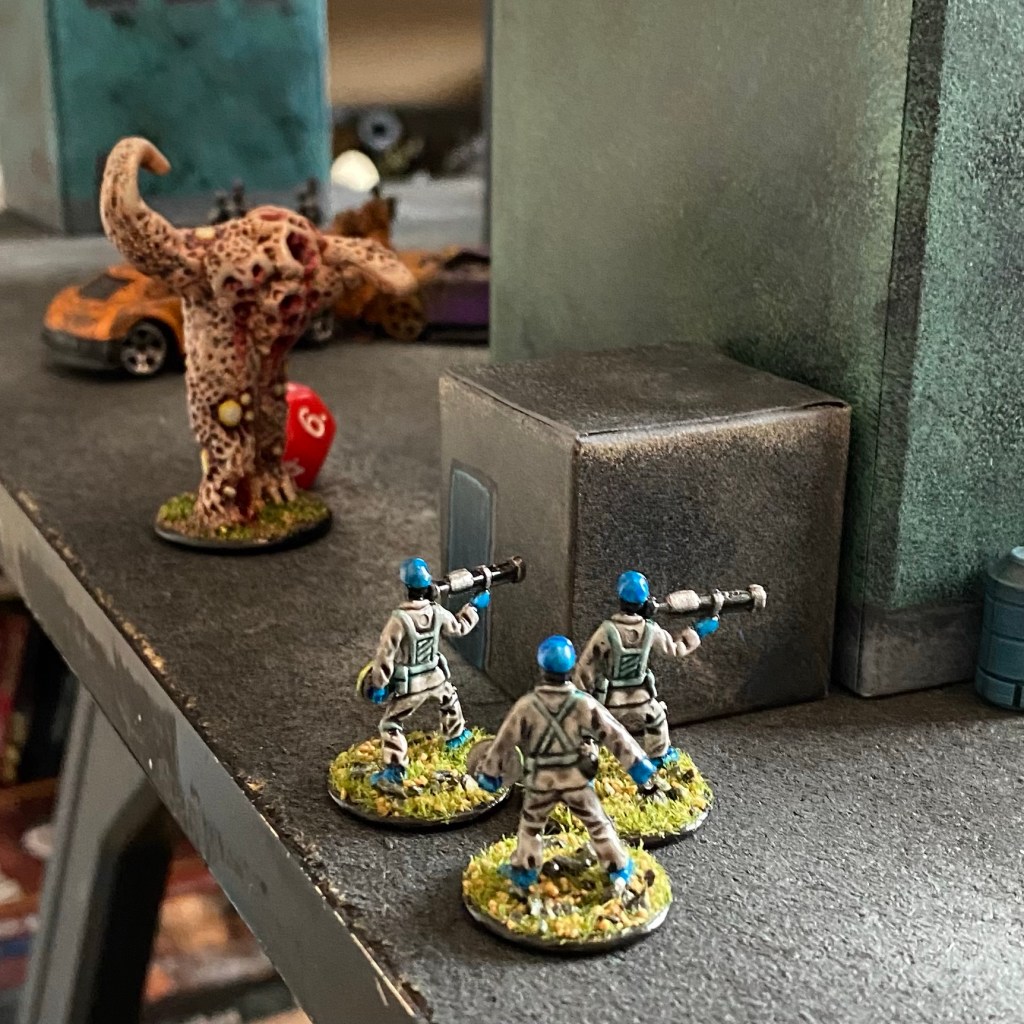
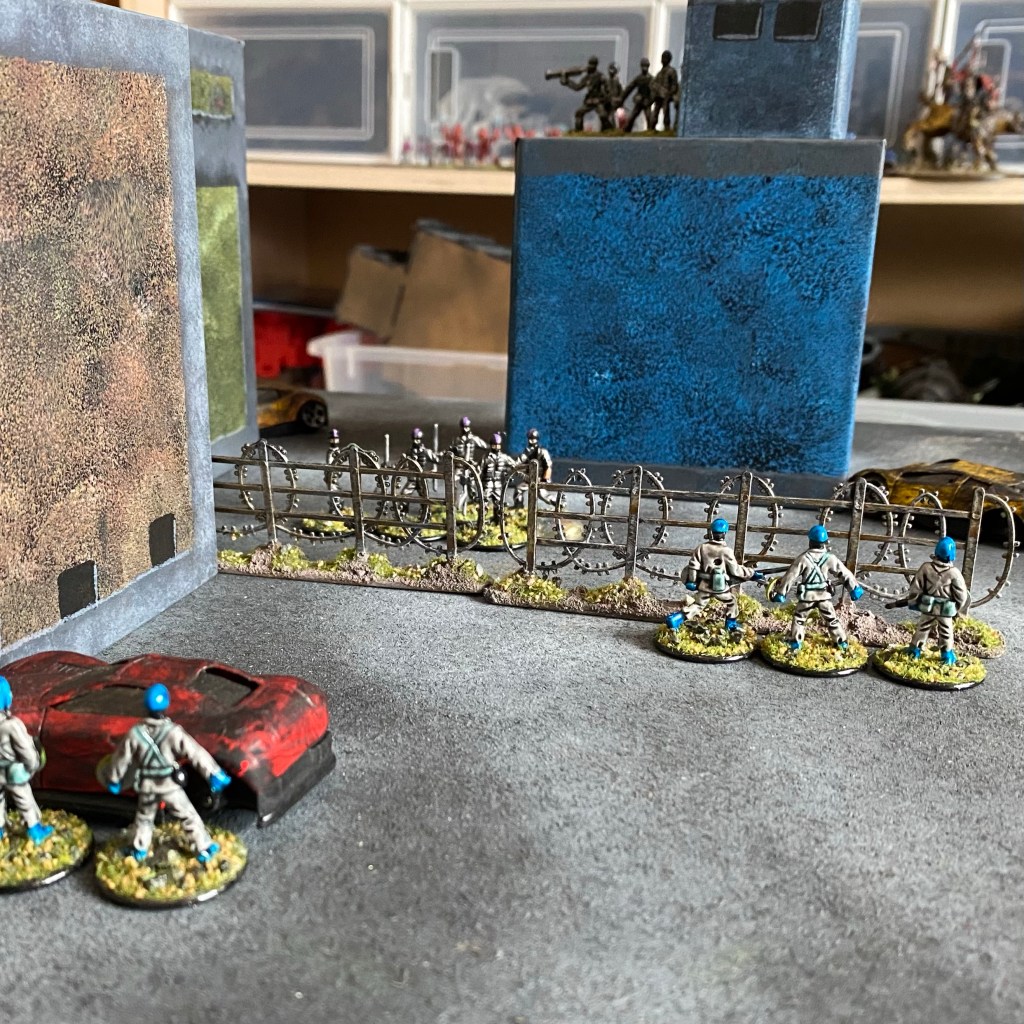
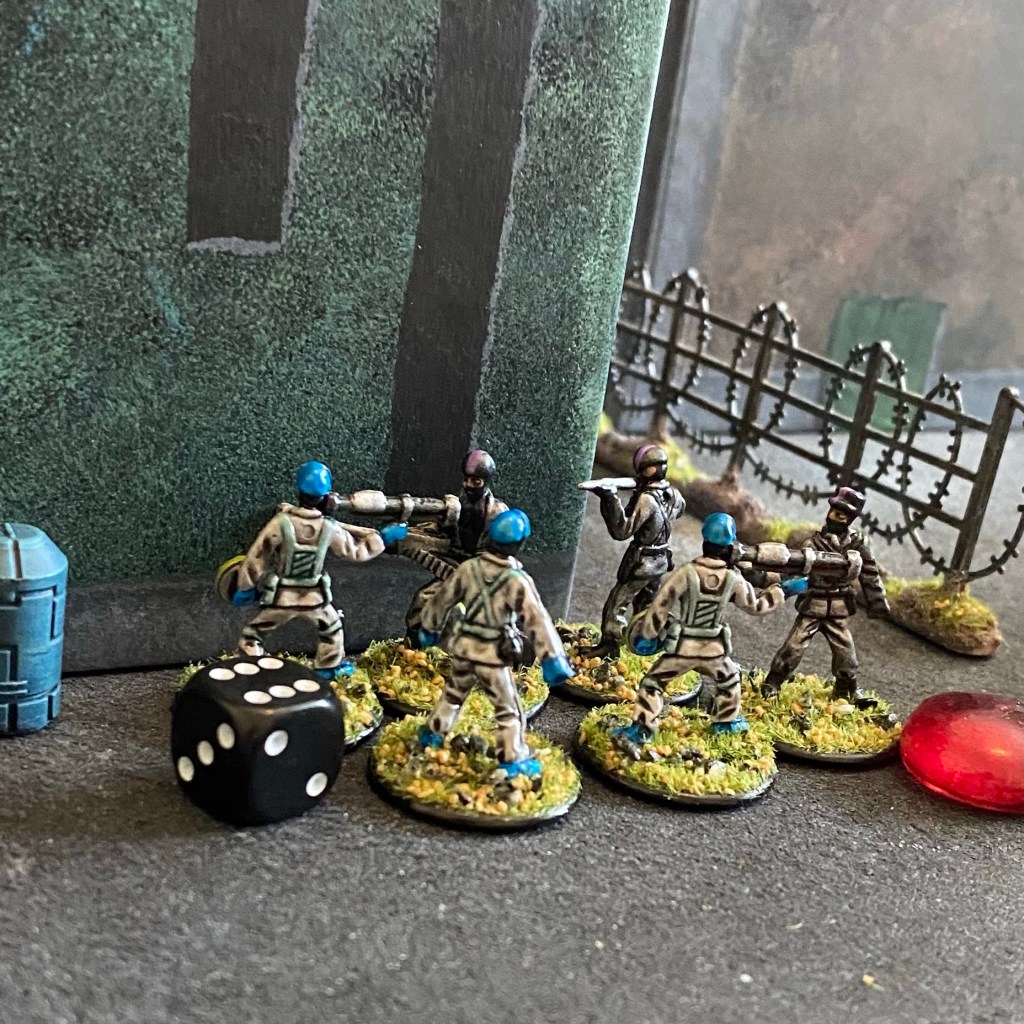
The game is played on a 2’x4’ board and the figures used are 1/72 or 20mm. The board should be fairly dense with terrain, with a mix of soft and hard cover.
THE SCENARIO
The following is the standard scenario generator for playing Deathzap 3:
- Deployment Edges/ Corners
Label each board edge and corner going round the board in a clockwise fashion from 1-8. Then have one of the player’s roll a D8. That player then takes the rolled edge or corner and their opponent the opposite edge or corner.
- Objectives
Each game uses 3 objective markers. A single objective is set up in the centre of the board, and then players place an objective. Each objective must be at least 9” from each other objective.
VICTORY POINTS
A player wins a game of Deathzap 3 by scoring the most points. You earn 3 points for destroying an enemy squad or support choice and you earn one point for each 6” (rounded up) from your deployment edge or corner the objective is when you activate it. So if an objective is 21” from your deployment edge and you activate it you gain 4 points.
PLAYING THE GAME
At the start of the game decide which player is the red player and which is the black player. Then shuffle a deck of playing cards including the jokers and place it face down. Then flip the top card. If it is a number card then the corresponding player can activate a squad. If it is a face card then the corresponding player can activate 2 squads, if it is an ace the corresponding player can activate 3 squads. If the joker is drawn all squads have their activation tokens removed (see ‘finishing activations’).
The game ends once the deck is exhausted, and the player with the most victory points wins.
SHOOTING
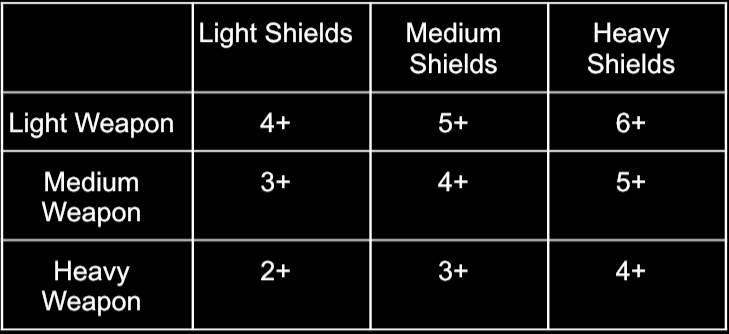
Here is an example weapon’s table so you get the idea, a force’s specific weapons table may vary:
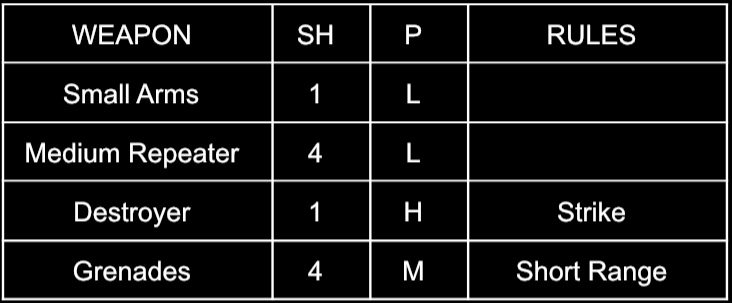
When a squad shoots first check it can see its target, and then check the shots (SH) for each weapon they are carrying for the number of dice (D6s) you will roll. Weapons with the ‘Short Range’ rule can only be fired at enemies within 12”.
Squads can split fire, but how they will do so must be declared before any dice are rolled.
Roll a die for each shot to see if you hit the target depending your squad’s skill level and upon their target’s cover:
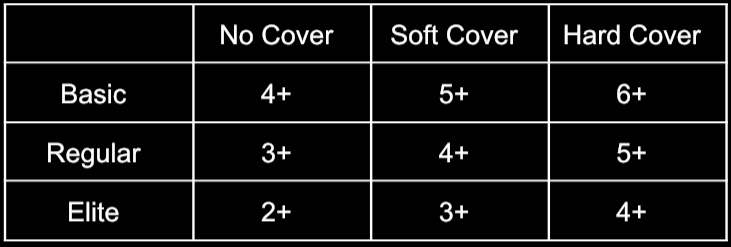
If a squad is split between two types of cover use the majority cover type. If the target squad is split evenly between two types of cover use the worst form of cover the target squad has.
Each hit scored is rolled again against the target’s shields, this time comparing the Power (P) of the weapon against the Shield Strength (SS) of the target squad:
Each die that beats the shields of the target squad causes 1 point of damage. Each point of damage removes 1 point of Shields (SH) from the target squad, and when Shields are reduced to 0, each point of damage causes a saving throw. Weapons with the ‘Strike’ rule do not reduce the Shields of the target but automatically cause a saving throw.
Saving throws are based on a squad’s skill level:
Basic – 6+, Regular – 5+, Elite – 4+.
Each failed save results in a casualty.
CRITICAL HITS
If a die rolled to hit a target is a 6, and when that same die is rolled again to penetrate the target’s shields it is also a 6, it counts as a critical hit. That shot gains the ‘Strike’ special rule.
MELEE ATTACKS
For a squad to make a melee attack against another they must be in base to base contact. You cannot split a squad’s melee attacks. Roll a number of dice per figure in the attacking squad equal to their Melee Attacks (MA) stat. A hit on the enemy squad is caused according to the attacking squad’s skill vs the target’s squad skill:

Each successful hit removes 1 of the target squad’s shields. You do not roll to beat the shields as with shooting, and each hit once a target’s shields are reduced to 0 causes a saving throw.

RECHARGING SHIELDS
When a squad recharges its shields, it goes back up to its full number as shown on its squad profile.
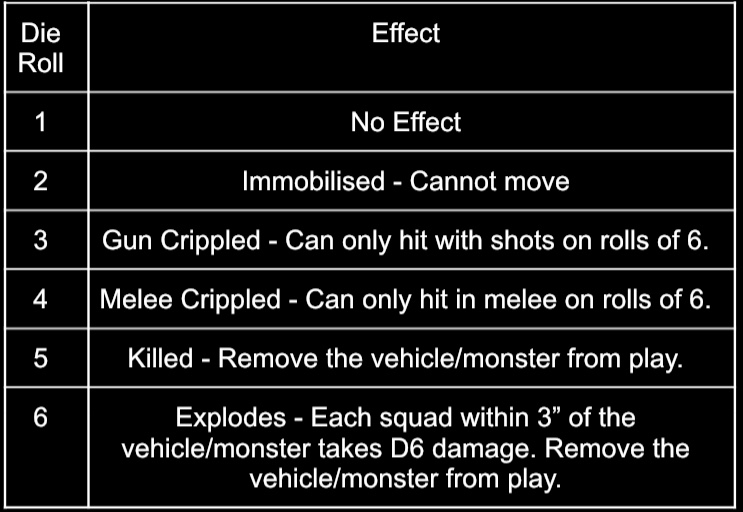
VEHICLE/MONSTER DAMAGE
When a vehicle or monster is reduced to 0 shields and then fails a saving throw instead of being removed from the table like a normal figure you roll on the damage table below to see the effect of the hit:
All of my force lists to follow!

Interesting. Whilst it says you can recharge shields, how exactly do you do it?
It’s just after Melee Attacks in the rules. The squad just goes back up to its starting number of shields.
Thanks. It does look a really interesting rule set