Of course the following rules are very much a W.I.P, but I think they’re fun and rather playable so enjoy! I’ll hopefully have a battle report filmed soon.
Conventions
Figures are referred to as Warriors. A Warrior can be a Brawler, a Hunter, a Skirmisher or a Berserker. Under special circumstances a Warrior can be a Mage, Monster, Warmachine or a Hero.
Brawlers can only make melee attacks and generally hit and save on 3+.
Hunters can make ranged attacks up to 24”, and generally hit and save on a 5+.
Skirishers can make ranged attacks up to 12”, and generally hit and save on a 4+.
Berserkers can only make melee attacks and generally hit on a 2+, but save on a 4+.
Warmachines can make ranged attacks up to 36”, and generally hit on a 2+ or 6+ if in melee and save on a 6+.
Mages can make ranged attacks at any range, always have line of sight, and ignore cover when shooting, and generally hit and save on a 6+.
A Hero will pick two of the above (Brawler, Hunter, Skirmisher, Berserker, Warmachine or Mage), and at the start of each round, their controlling player will decide what the hero will act as for the round (adjusting hit rolls, saves, ranges accordingly).
Monsters are randomly generated, see below.
A Warrior (not including monsters) can also be Bad, Standard, Veteran or Heroic (only Heroes can be Heroic).
Bad warriors will only roll 1 die to attack and can only take 1 wound before dying.
Standard warriors roll 2 dice to attack and can take two wounds before dying.
Veterans roll 3 dice to attack and can take 3 wounds before dying.
Heroes roll 4 dice to attack and can take 4 wounds before dying.
Points Costs
The standard currency in Chob-Noggoth is Fingers, with only the wealthiest having more than 10. Warriors can be hired for a certain number of Fingers, with a standard game being 20 Fingers.
Bad Warriors cost 1 Finger, Standard Warriors cost 2 Fingers and Veterans 3 Fingers. A Monster or Hero costs 5 Fingers. A Mounted Warrior costs 1 additional Finger. Monsters always count as Mounted but do not cost an additional Finger. If a Monster can fly or has a ranged weapon, each of those abilities costs 1 additional Finger.
Bonus Rules
Each Warband in Chob-Noggoth can share a single bonus rule, and then each Warrior in the Warband can have their own bonus rule, at no additional cost. You can add additional Bonus rules to individual Warriors beyond that, but each additional Bonus rule costs 2 Fingers each. If any Warrior has the same rule twice (likely in the case of Monsters) the rule only ever applies once.
1: Accurate – This Warrior can add 1 to any attack rolls it makes. Natural 1s always fail.
2: Big – The Warrior gets 1 additional wound.
3: Hardened – This Warrior can add 1 to any saving throws it makes. Natural 1s always fail.
4: Obscured – Enemies suffer -1 to hit rolls when attacking this Warrior. Natural 6s always hit.
5: Bloodthirsty – When attacking this Warrior rolls an additional attack die.
6: Eager – After deployment, but before rolling for round order, eager Warriors can make a 6” move. If eager Warriors exist on both sides, roll off for which side makes its eager moves first.
7: Parry – When enemies attack this Warrior in melee, any 1s they roll automatically wound them back.
8: Longshot – Add 6” to this Warriors range. Warriors that could not make ranged attacks, can now attack up to 6”.
9: Drop Troops – This Warrior does not begin on the table, instead they deploy during their first opportunity to move or perform an action. Warriors deploying in this way can be placed anywhere on the battlefield provided they are not in base contact with any other Warriors. Roll a die for each Warrior ‘dropping in’, on a 1 they are immediately killed, otherwise they are placed, and then continue as normal.
10: Holy – When this Warrior prays at a Shrine they gain 1 additional Divine Intervention point.
11: Winged – The Warrior can fly. They ignore vertical distance while moving and can pass over other Warriors.
12: Fearless – The Warrior never takes morale checks (other than those caused by Divine Intervention).
13: Boomstick – Once per game, as an action, the Warrior can make a 6 dice, 6” Ranged attack that hits on a 4+.
14: Quick Attack – This Warrior always attacks before their opponent in melee, unless their opponent also has this rule, in which case roll off for who attacks first.
15: Healer – As an action this warrior can attempt to heal and ally in base to base contact. The healing Warrior attacks their target, but instead of wounding, each hit causes a wound to heal. Saving throws are not used to block the hits!
Scenario and Setup
A standard game is played on a 2’x3’ table. Players should place terrain in an even-ish fashion including D3+2 Shrines. Each Shrine should be a minimum of 6” away from each other Shrine. Once all terrain is placed, players roll off. The higher roller is Player A for the game, and then picks one of the long edges of the table and places all of their Warriors within 3” of that edge (this is their ‘starting edge’), their opponent is Player B and then places all of their Warriors within 3” of the opposite edge. The game then begins.
Round Order
The game is then played in rounds. The order in which things happen in each round and what can happen in a round is randomly rolled for on a D6 at the start of each round, then the round progresses as below:
1: Blast ‘Em!
Side A Actions (only shooting or spell casting is permitted)
Side B Actions (only shooting or spell casting is permitted)
Divine Intervention
End of the Round (Morale Checks)
2-3: Standard Round
Side A Moves
Side B Actions
Side B Moves
Side A Action
Divine Intervention
End of the Round (Morale Checks)
Resolve Melees (opposing models in base to base contact) immediately as they pop up.
4: IGO-UGO
Side B Moves
Side B Actions
Side A Moves
Side A Action
Divine Intervention
End of the Round (Morale Checks)
Resolve Melees (opposing models in base to base contact) immediately as they pop up.
5: Berserk Charge!
Side A Moves
Side B Moves
Side A Moves
Side B Moves
End of the Round (Morale Checks)
Resolve Melees (opposing models in base to base contact) immediately as they pop up.
6: Artillery Bombardment/ Magical Storm/ Meteor Strike
Roll a die for each Warrior, on a roll of 6, that warrior suffers D6 hits.
End of the Round (Morale Checks)
Moving
Warriors can move 4” per move phase.
Warriors can move an additional 1” if they are Mounted or a Monster.
Warriors cannot move through other Warriors and should use terrain in a way that makes sense.
When a Mounted Warrior or Monster moves into base contact with an enemy Non-Mounted Warrior, the enemy Warrior is automatically hit, and must make a saving throw.
Actions
Actions include moving, shooting, casting spells or praying at shrines. During their Actions phase a Warrior can perform one action.
If a Warrior does not perform an action, and can make ranged attacks, they gain an ‘Aimed’ token, this token can be spent next time they make a ranged attack. When the Warrior spends their token on a ranged attack they can add 1 to their hit rolls. If a Warrior with an Aimed token moves for any reason, fights in melee or is hit by an attack the token is discarded.
Action – Moving
Instead of performing an action a Warrior can make an additional 2” move, or 3” move if Mounted or a Monster. When a Mounted Warrior or Monster moves into base contact with an enemy Non-Mounted Warrior, the enemy Warrior is automatically hit, and must make a saving throw.
Action – Shooting
A Warrior that is capable of shooting can do so as an action. Select a target for the Warrior to shoot that is within range. The Warrior then rolls a number of dice (Bad 1, Standard 2, Veteran 3, Heroic 4), needing a 4+ to hit if they are a Skirmisher, a 5+ to hit if they are a Hunter or a 6 to hit if they are a Mage. If the target has cover (not entirely visible for any reason), -1 to hit. Cover doesn’t affect the shots of Mages.
Any 6s rolled are critical hits and automatically wound the target. Any other hits can be saved against. The target then makes any saving throws based on their type – Brawlers 3+, Skirmishers 4+, Hunters 5+, Mages 6. Each failed save results in a wound.
Action – Casting Spells
If a Mage wants to cast a magic spell, they can as an action. The spell itself is always randomly generated. The Mage can choose to not cast the spell once it is rolled for, however to do so they must pass a test, rolling a number of dice (1 for Bad Mages, 2 for Standard, 3 for Veteran and 4 for Heroic), needing a single 6. If the 6 is rolled then the spell is not cast, otherwise it is. If they roll any 1s while attempting to stop the spell they suffer a wound per 1 rolled.
First roll for the target of the spell:
1: Self
2: A random Ally
3: The closest Ally
4: The closest Enemy
5: A random Enemy
6: The controlling player picks any Warrior.
Then roll for the effect of the spell:
1: The target heals D3 Wounds.
2: The target loses D3 Wounds.
3: Draw an imaginary line from the centre of the Mage to the centre of their target, any Warriors that line passes through and the target suffers a hit.
4: Force the target to take a morale check.
5: The target turns into a Monster. Randomly roll for the Monsters traits, roll for winged or gun separately and each are gained on a 4+ (See Monsters below). If the target was already a Monster, they become a Bad Brawler with no Traits or Bonus Rules.
6: The controlling player picks any one of the spell effects above.
Action – Praying at Shrines
As an action any Warrior can pray at a Shrine. To do so the Warrior must be within 3” of the Shrine, and there must be no enemy Warriors within 3” of the same Shrine. When a Warrior prays they gain their side D6 Divine Intervention points.
Melee
The Warrior that moved into contact attacks first, then if their opponent survives they can attack back. After both Warriors have attacked, if both are still alive, the Warrior that suffered the most wounds loses and must take a morale check, and if passed is pushed back away from the winner D6”. If an equal number of wounds are suffered, roll off, and the loser takes a morale check and if passed, retreats away from the winner D6”.
When a Warrior attacks, the Warrior rolls a number of dice (Bad 1, Standard 2, Veteran 3, Heroic 4), needing a 3+ to hit if they are a Brawler, a 4+ to hit if they are a Skirmisher, a 5+ to hit if they are a Hunter and a 6+ to hit if they are a Mage or Warmachine.
Any 6s rolled are critical hits and automatically wound the target. Any other hits can be saved against. The target then makes any saving throws based on their type – Brawlers 3+, Skirmishers 4+, Hunters 5+, Warmachines 6+, Mages 6+. Each failed save results in a wound.
Divine Intervention
During the Divine Intervention phase, each side gets to see if their appeal to their gods has been heard. Each side rolls a die and adds the number of Divine Intervention points they generated during the round. If a side has zero points they do not roll a die. The side that scores highest has been heard by their gods and now gets to roll (2D6) on the Divine Intervention table below, to see how their gods intervene:
Roll for Divine Intervention:
1: The gods giveth… – Place a new terrain piece anywhere on the battlefield provided it is not on top of any Warriors or existing terrain.
2: Big Hand – Using your own hand as a template, place it anywhere above the table. Each Warrior under your hand must take a Morale check. If they fail they don’t flee the battlefield but suffer a wound instead.
Feel free to borrow your opponent’s hand if it’s significantly larger than your own.
3: Resurrection – A randomly chosen slain ally is returned to anywhere on the battlefield provided they are not in base contact with an enemy. If none of your Warriors have yet been slain, a random Warrior in your force is slain (so you can have someone to resurrect next time).
4: Terrifying Visions – Each enemy Warrior takes a Morale Check.
5: Divine Protection – All allied Warriors gain the
6: Smite – A random enemy immediately explodes. Each figure within D6” of the enemy (roll once) suffers D6 hits (roll for each individual). Then the enemy is dead.
7: You’ve angered the gods! – Every Warrior in play takes a hit.
8: Divine Jab – A random enemy suffers a wound.
9: Levitation – All allied Warriors gain the Winged Bonus Rule for the rest of the game. All that had Winged already get nothing.
10: Healing – All allied Warriors regain a lost wound each.
11: Blessing – A random ally Warrior gains a random Bonus Rule permanently. If the Warrior already has the Rule, nothing happens.
12: And the gods taketh away – Remove a piece of terrain from play. If the piece removed contained Warriors, they do not go with it, but should be placed as close to their location before the terrain item was removed.
Morale Checks
When a warband drops to half or less than half of its starting number of Warriors, each Warrior within it must take a morale check at the end of each round to see if they keep fighting or head for the hills. Roll 1 die for Bad Warriors, 2 for Standard, 3 for Veterans and 4 for Heroes. If a 5+ is rolled on any die, the check is passed, otherwise the Warrior flees the battlefield. Monsters never take morale tests.

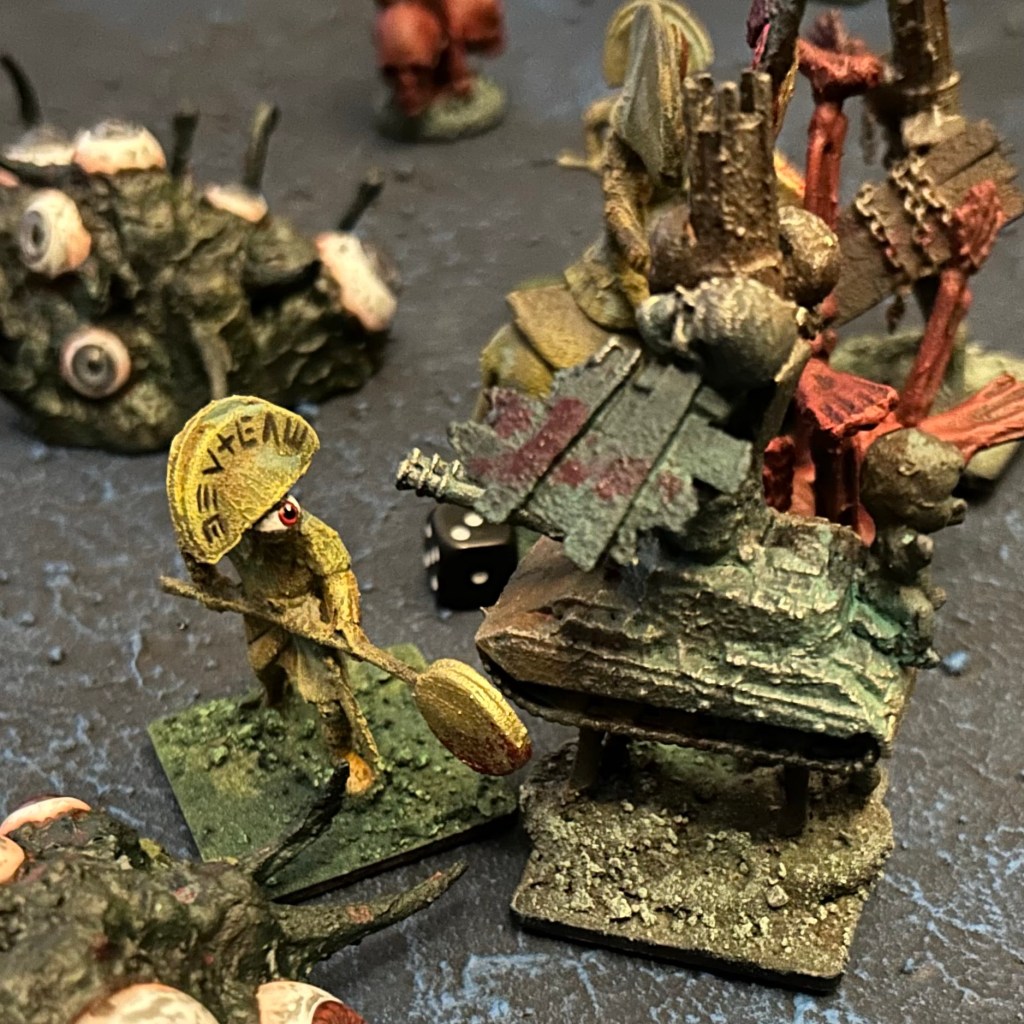
Monsters
A Monster will make a number of attacks equal to its remaining wounds, and will have D3+2 wounds at the beginning of a game. Monsters generally hit on a 2+ and save by rolling above the number of their remaining wounds. Each monster has two traits from the list below, you can either select the traits relevant for the Monster you have, or roll randomly:
1: Passive Aggressive – Instead of attacking with its number of remaining wounds, the Monster begins with 1 attack, and then gains 1 additional attack per wound it suffers.
2: Big – The Monster gets 1 additional wound.
3: Hardened – The Monster can add 1 to any saving throws it makes. Natural 1s always fail.
4: Obscured – Enemies suffer -1 to hit rolls when attacking the Monster. Natural 6s always hit.
5: Magical – When the Monster suffers their last wound roll on the Mage table for them instead of the Monster table.
6: Terrifying – Before attacking this Monster a Non-Monster Warrior must take a morale check.
Feel free to rename traits, like ‘cute’ instead of Obscured.
If a Monster is armed with a ranged weapon, or could fly you can add the following traits for 1 Finger each:
1: Gun – The Monster can make ranged attacks up to 12”.
2: Winged – The Monster can fly. They ignore vertical distance while moving and can pass over other Warriors.
Last Wound
When a Warrior (not a Berserker, Monster, Warmachine, Mage or Hero) would lose their last wound, instead of removing them from play, roll a die:
1-2: Flesh Wound – The Warrior is unaffected and keeps their last wound.
3: Second Wind – The Warrior is unaffected, and returns to their full number of wounds.
4: Last Stand – The Warrior dies, however before doing so, they cause a hit on the closest enemy Warrior within 3”. If no enemy Warriors are that close the Warrior just dies.
5: Dead – They dead.
6: Butchered – The Warrior dies in such a brutal fashion it causes a morale check on all of its allies.
Roll on this table for Monsters and Berserkers instead:
1-2: Flesh Wound – The Monster/Berserker is unaffected and keeps their last wound.
3: Enraged – Roll a die for each Warrior within 3”, they suffer a hit on a 4+, and the Monster/Berserker keeps their last wound.
4: Spooked – The Monster/Berserker retreats 2D6” directly away from the attacker, if they move off of the board they cannot return and count as dead for the game. Roll a die for any Warriors they move through, on a 6 that Warrior suffers a hit. The Monster/Berserker keeps its last wound.
5: Berserk – The Monster/Berserker is no longer under anyone’s control. During its normal phases (A or B) it will move towards the closest Warrior and attack them.
6: Dead – They dead.
Roll on this table for Warmachines instead:
1: Flesh Wound – The Warmachine is unaffected and keeps their last wound.
2: Second Wind – The Warrior is unaffected, and returns to their full number of wounds.
3: Dead – They dead.
4-6: Explodes – Each figure within D6” (roll once) suffers D6 hits (roll for each individual). Then the Warmachine is dead.
Roll on this table for Mages instead:
1-2: Flesh Wound – The Mage is unaffected and keeps their last wound.
3: Backlash – The Mage keeps their last wound, and their attacker suffers a hit.
4: Teleport – The Mage keeps their last wound, and teleports 3D6” in a random direction. If the Mage moves off of the board or inside a piece of terrain they are considered dead. If the Mage teleports inside another Warrior, both are dead.
5: Dead – They dead.
6: Explodes – Each figure within D6” (roll once) suffers D6 hits (roll for each individual). Then the Mage is dead.
Roll on this table for Heroes instead (unless they are behaving as a Mage for the round, in which case roll a die, on a 1-3 roll on this table, on a 4-6 roll on the Mages table):
1-2: Flesh Wound – The Hero is unaffected and keeps their last wound.
3: Blame Game/Bodyguard Dive – The Hero keeps their last wound, and their closest ally suffers a hit, move the ally into base contact with the Hero. If the Hero doesn’t have any allies within 6”, they suffer the wound and die.
4: Tactical Withdrawal – The Hero retreats 2D6” directly away from the attacker, if they move off of the board they cannot return and count as dead for the game. Roll a die for any Warriors they move through, on a 6 that Warrior suffers a hit. The Hero keeps its last wound.
5: Dead – They dead.
6: Heroic Death – The Hero dies in such a brutally heroic fashion it causes all of its allies to automatically pass all morale checks for the rest of the game.
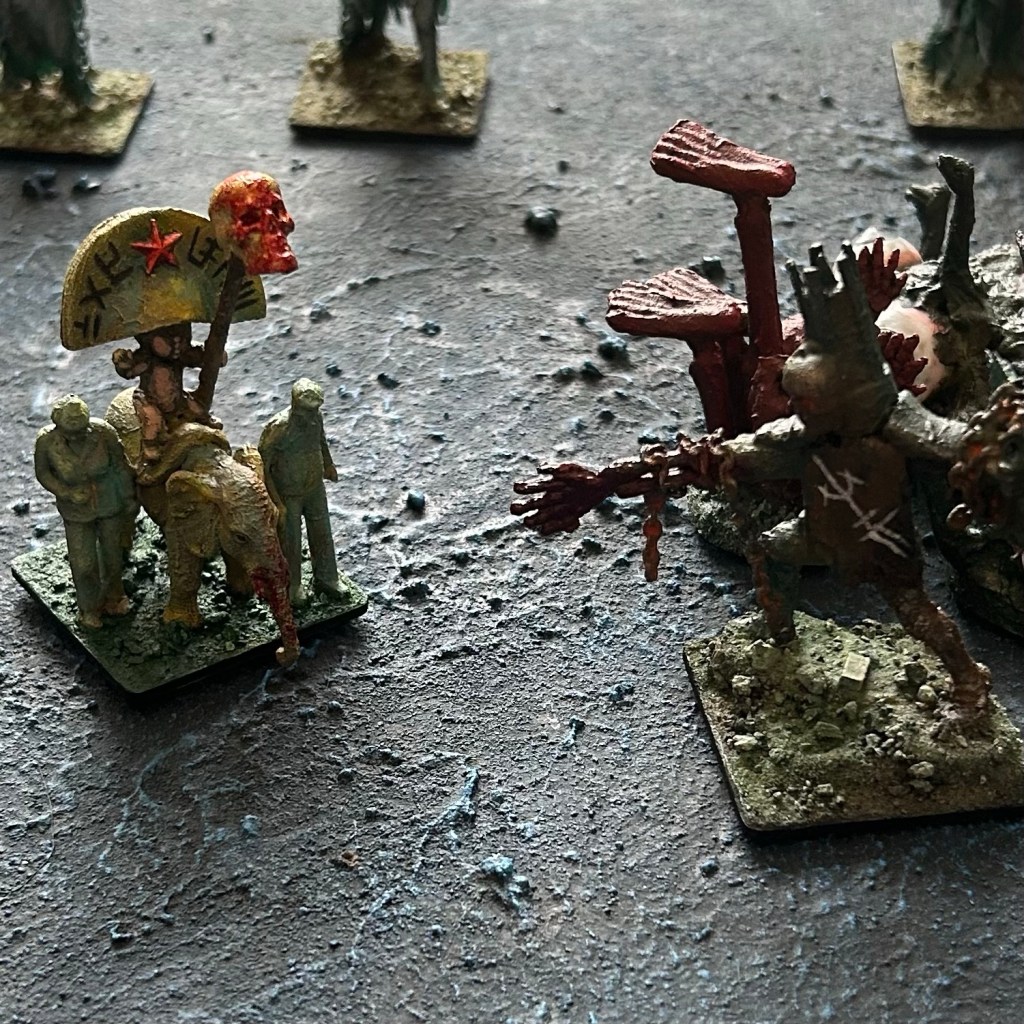
Mercenaries for Hire
‘The Piggun’, or Rhombus, Reebus and their Pig Shirley – Cost: 8 Fingers
Rhombus and Reebus are two androids, Rhombus wields a sword and shield and rides at the front of Shirley, Reebus is armed with a bow and rides at the back. Their pet monkey Clive also tags along. Shirley the pig is capable of splitting herself in half, with Rhombus riding the front half and Reebus riding the back. Concealed in Shirley’s back half is their namesake ‘Piggun’, a death-cannon capable of vaporising even the most resilient foes such as dream-golems. Oh, there’s also an elder god trapped inside Shirley’s front half but we try not to bring that up.
While Shirley is joined together, the two halves count as a single Monster with 3 wounds and the following traits: Gun, Hardened and Terrifying.
Once they have lost their 3 wounds (do not roll on the Monster table for their last wound) the two halves split apart and both halves can behave independently. Rhombus and the front half become a Standard Mounted Brawler, and Reebus and the back half become a Standard Mounted Warmachine (but slightly modified). Both have the Hardened and Bloodthirsty Bonus Rules.
Instead of rolling on the last wounds table for Warriors, for Rhombus and the front half roll on the Mage table instead (that’s the effects of the elder god).
When Reebus and the back half make hit rolls, any hits scored wound the target, not just 6s. However if a 6 is rolled Reebus and the back half immediately explode.
