So based on yesterday’s post, here’s a revised version of the Simple rules I was using. I played around with them this morning. They seemed robust enough for a decently quick game without anything too strange happening. I really like how they mimic the terror of automatic weapons. Figures don’t fire in volleys like most rule sets, any single man in the right place at the right time could take out an entire squad.

Player’s alternately activate one figure each. If the chosen figure is a squad leader then that figure can issue orders to (activate) a number of additional figures equal to its leadership rating within 6” of itself. The squad leader and other figures will activate before play passes to the opposing player. The squad leader themselves can act (move, shoot etc) before, during or after the other figures.
Note: You can activate the same figure on consecutive turns if you want.
The maximum range of any infantry weapon is 12”.
If an activating figure is shaken roll a die, on a 4+ the figure is no longer shaken and activates as normal, on a 1-3 the figure remains shaken and does nothing. If a squad leader is shaken they can still issue orders but their leadership rating is halved. Being shaken represents the figure being pinned or lightly wounded.
If a figure is shaken they can choose to fall back. In this case they are not shaken and follow the rules for moving without shooting but must move away from the enemy.
When a figure is activated they can do one of the following:
Move up to 6” and shoot.
Move up to 9”.
When a figure shoots you select a target for them within 12”. This should be the closest visible enemy figure. The target can then decide to shoot back or fall back.
If the target shoots back roll a die for each figure adding any modifiers below:
Bigger gun +1
Better cover +1
Better training +1
Shaken -1
Higher roller wins. If the higher roller wins by 1 then loser is shaken, if by 2 or more the loser is killed. In the case of a draw both figures are shaken. Mark shaken figures in some way to keep track.

If the target falls back then they can move up to 4 1/2” away from the shooter and are then killed on a 5+ if they are in the open or on a 6 if they are in cover. If the figure survives they can move a further 4 1/2” away. A shaken figure that is falling back remains shaken after their move.
When two opposing figures come into base to base contact they immediately fight, roll a die for each figure.
Better training +1
Shaken -2
Higher roller kills their opponent, in the case of a tie the attacker wins.
When a figure moves without firing they first move 4 1/2” and if an enemy that is not pinned has line of sight to them they can attempt to pin them on a 5+ and kill them on a 6, as many non-pinned figures that can see the moving figure can attempt this. If the moving figure survives they can then move a further 4 1/2”.
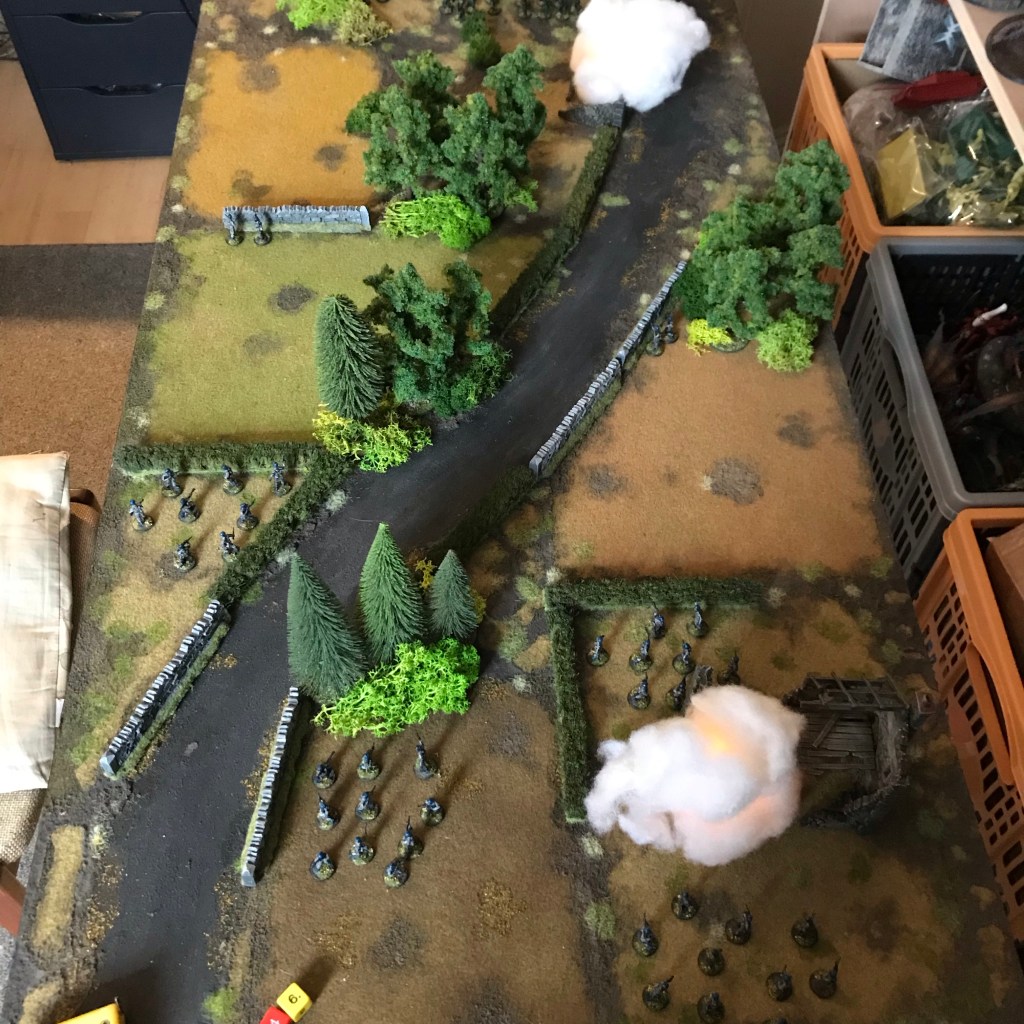
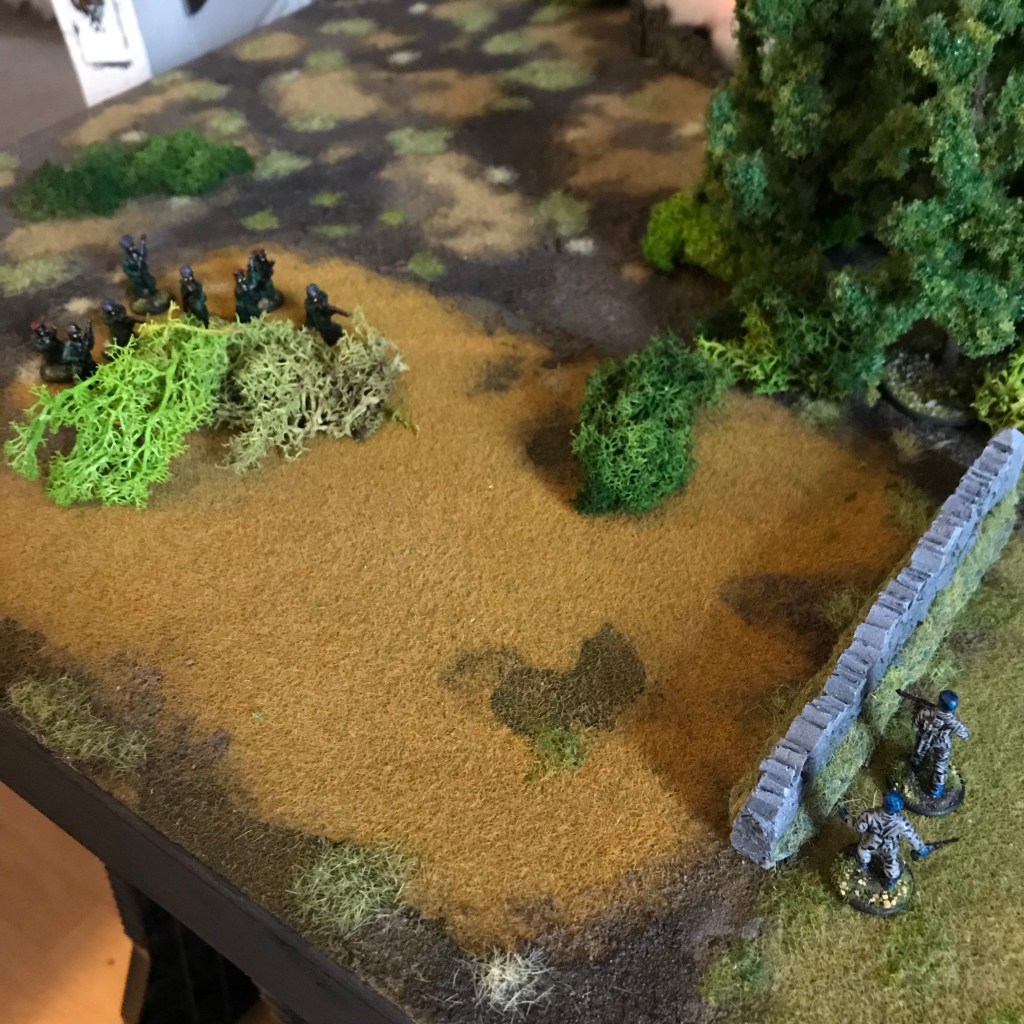
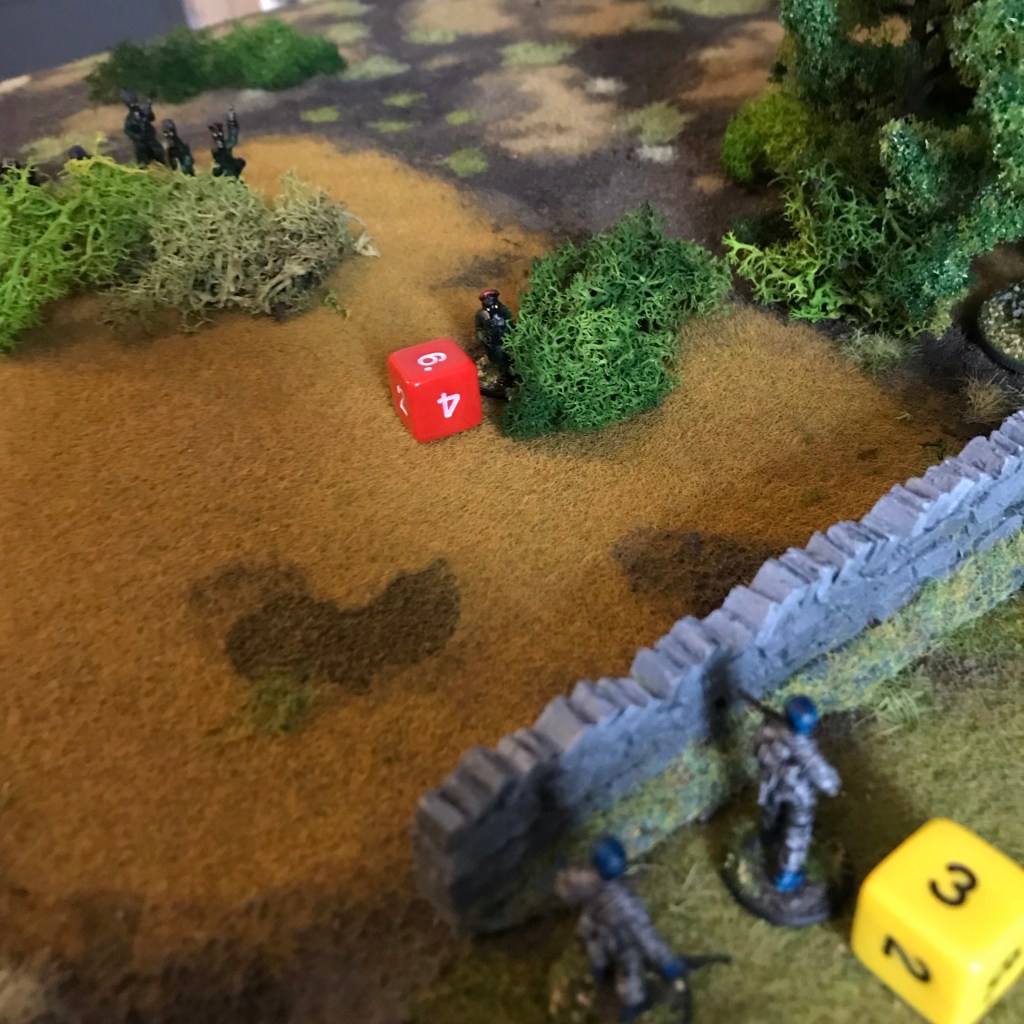
Let’s do a quick example of some basic play:


Let me know your thoughts or if you try the rules out yourself.
