I’ve had a couple of bags of the ‘bad’ knights for a while. I’ve used up a few for Wartomata in Deathzap:
But that uses up very few, and I hate seeing poor quality toy soldiers go to waist.
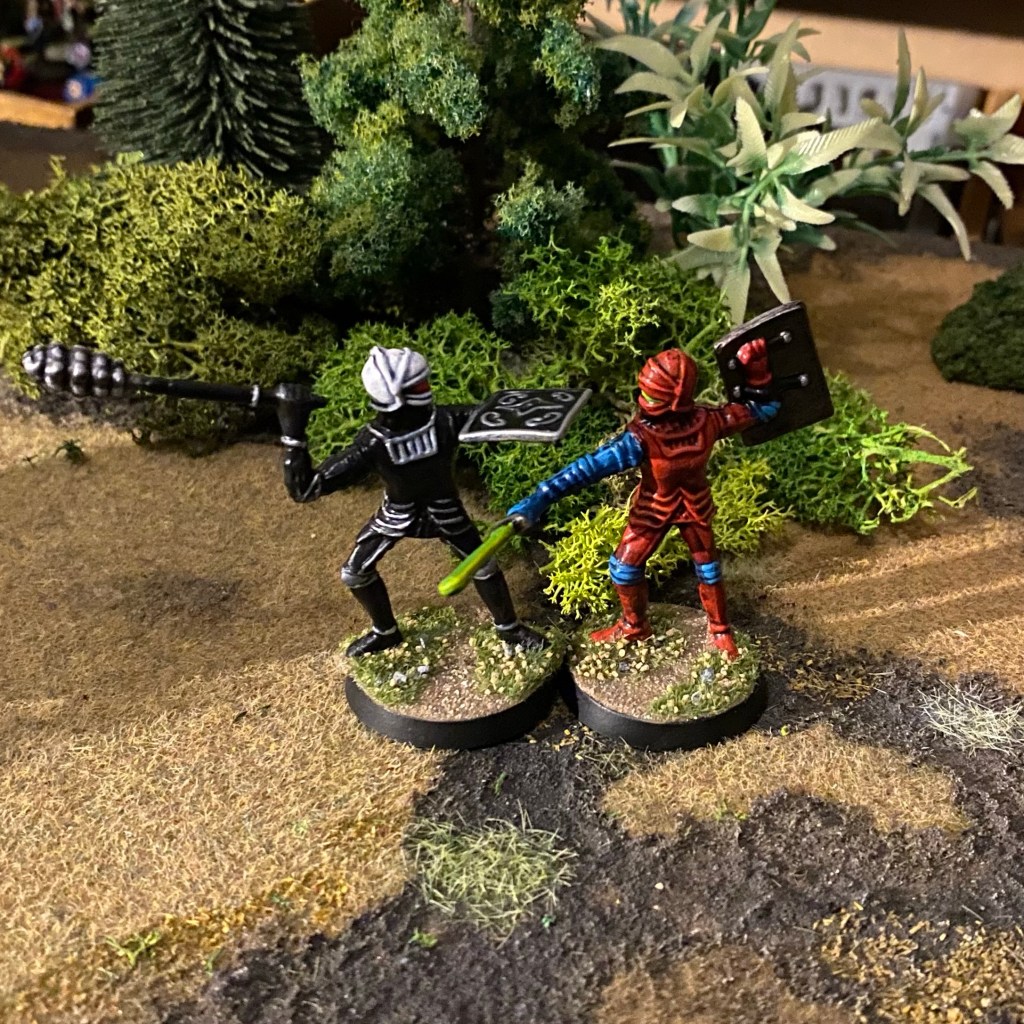
I imagined a portal to Hell or a parallel dimension opening up during the Crusades. So I needed some Templars:

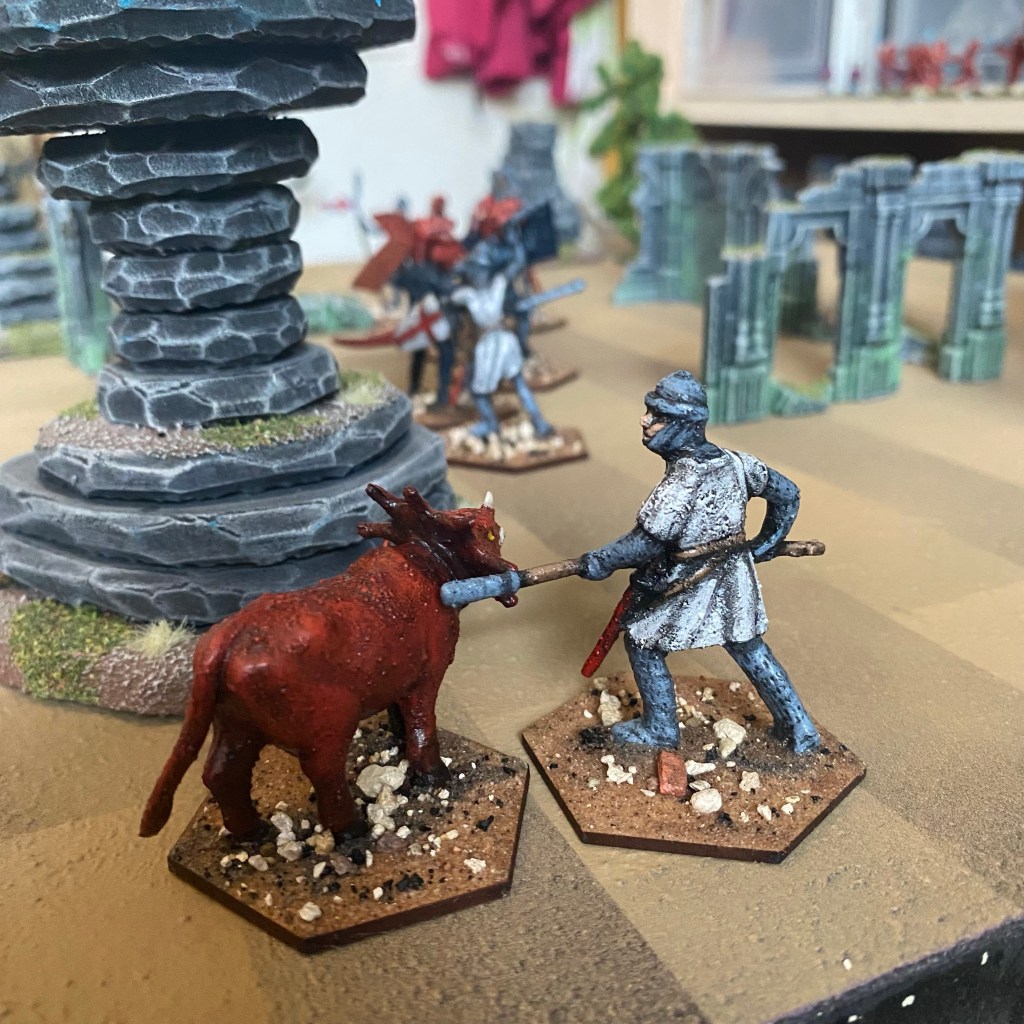
Quick and easy painting worked surprisingly well on these guys and I’m very happy with the result. I wanted some demons as opponents and began chopping up some small dinosaurs I had, combining them with the knights in the bag:

I settled on calling them Sauracens since I love a pun, and Hellknight was already taken.

The full warband:

Lacking the desire for measuring distances I felt a good gridded board was in order, a few spray cans and masking tape worked a treat for a slightly subtly gridded affair:

So what of the rules? Well I was craving quick and easy things and adapted Featherstone’s Close Little Wars (via Man of Tin), adding some extra bits for skirmishing with small numbers of figures:
Victory Conditions
The aim of each force unless otherwise described is:
1. To seek out and destroy their enemy.
2. Or get at least 50% of your troops to the opposite enemy baseline.
Taking Turns
a) First side moves (possible melee).
b) Other side shoots.
c) First side shoots.
d) Other side moves (possible melee).
Roll off at the start of each game turn for each side to see who moves first.
Wounds
A figure is killed after they suffer their 3rd wound.
Movement Rates
Unarmoured or lightly armoured figures move 6.
Armoured figures move 5.
Heavily armoured figures move 4.
Difficult Terrain or crossable obstacles half all moves (round up halves).
Shooting
Longbows or crossbows range – 6.
Thrown weapons range – 3.
Spears can poke 2.
Select a single target for the shooter and throw 3D6. Each 6 causes damage. If the shooter is in cover a 5 or 6 causes damage.
Then the target makes a saving throw for each point of damage scored:
If the target is unarmoured or lightly armoured – 6+.
If the target is wearing armour – 5+.
If the target is heavily armoured – 4+.
If the target is carrying a shield, +1 to the die roll.
If the target is in cover, +1 to the die roll.
Each failed save results in a wound.
Melee
Melee is joined when a figure is adjacent to another.
Throw 3d6 for each man involved (one red, one white, one blue).
Resolve dice in order (red, white, blue).
Highest score on each colour wins and the loser makes a saving throw to see if they are wounded. The attacker (the figure that made contact) wins any ties.
Saves are the same as with shooting.
Each failed save results in a wound.
If a figure is killed mid combat do not resolve the remaining dice.
Melee Morale Test
At end of melee fight if both figures are still alive, throw a d6 for each fighter reducing their roll by any wounds suffered in the melee. The higher roller wins the melee morale test and the loser retreats 2 backwards.
Then roll a D6 again for the loser to see if they are routed:
1-3 the figure retreats another D6 backwards and will not move during their next movement phase.
4-6 the figure has made a tactical retreat and so behaves as normal.
If a figure retreats off of the board they do not return!
I hope to expand things further, more figures, more factions, special rules to vary up weapons in melee, but who knows what I’ll get distracted by next?

I really like your style of Wargaming, model making, miniature painting and your rules.
I really look forward to your posts. Please keep up it good work.
Thankyou very much!
They are interesting ideas with conversions and easy rules. Although I’m not a fan of grided playing areas I can see the attraction here.
I do like the conversions 🙂
More strangeness to come!
i never want to make paint or model minis in any way shape or form until I read a Deathzap post and then i just want to run to my nearest $2 shop and buy everything in sight
That’s the best comment I’ve had!