My Ancient Sumerians took on my WW1 British Camel Corps today, and well, let’s just say that my super simple rules worked far better than I’d expected!
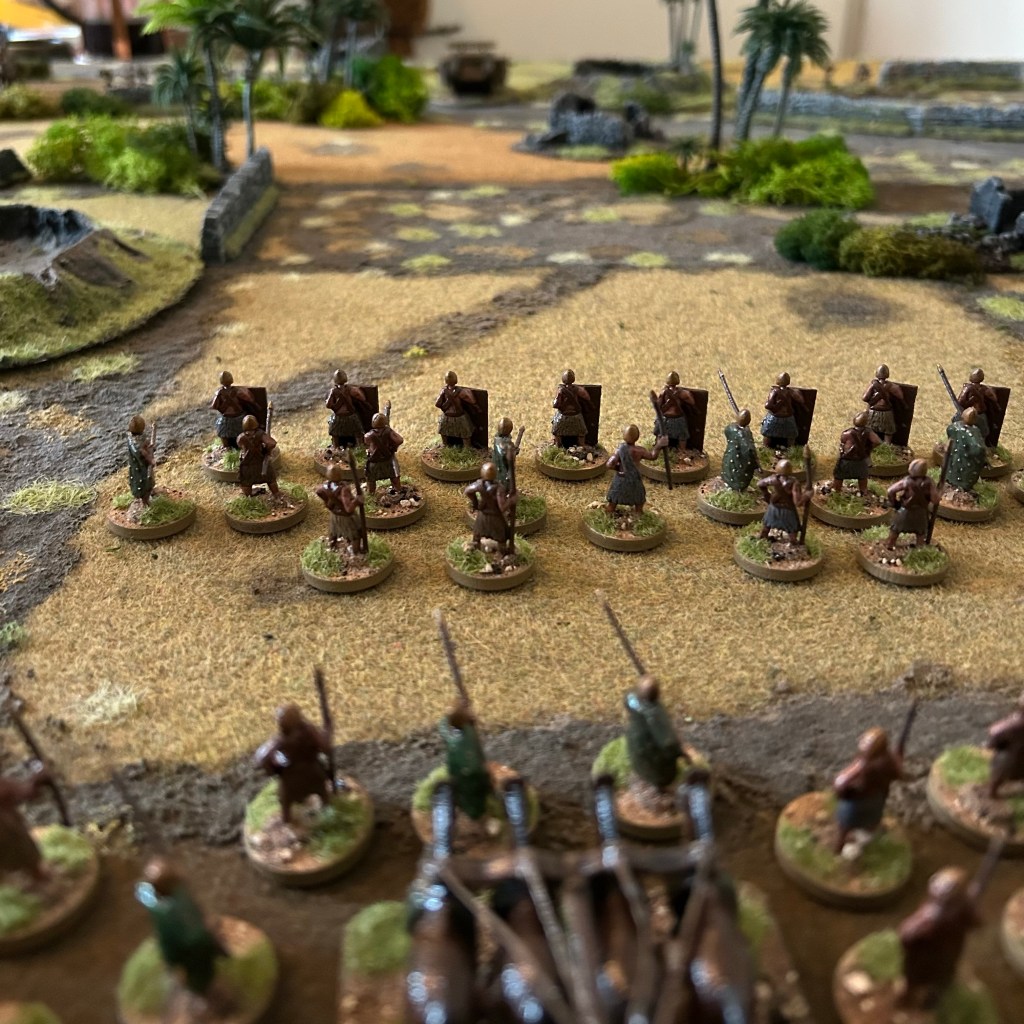
I’m not even sure I need to bother with any tweaks at all, bar a slight change to my points system.
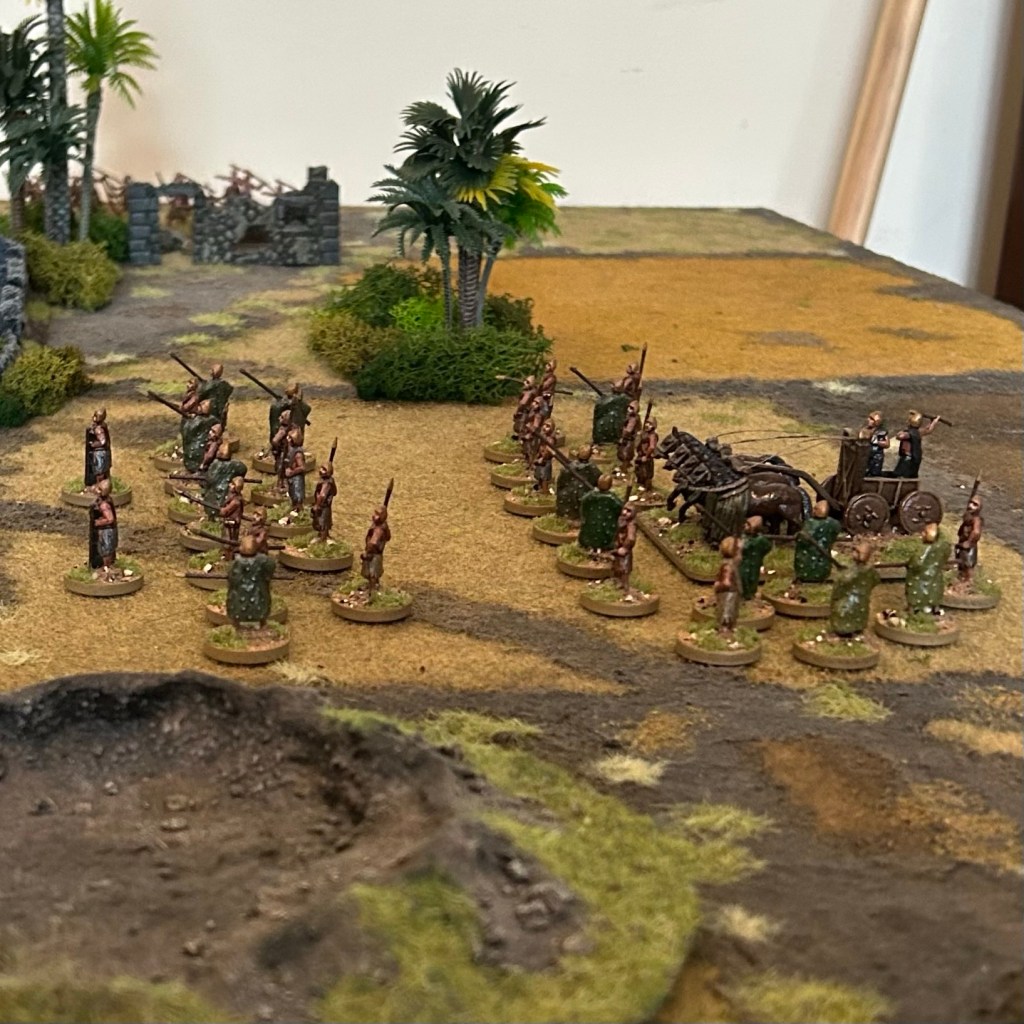
Everything was quick and easy, and the game only took an hour, despite there being near 100 figures on the table.
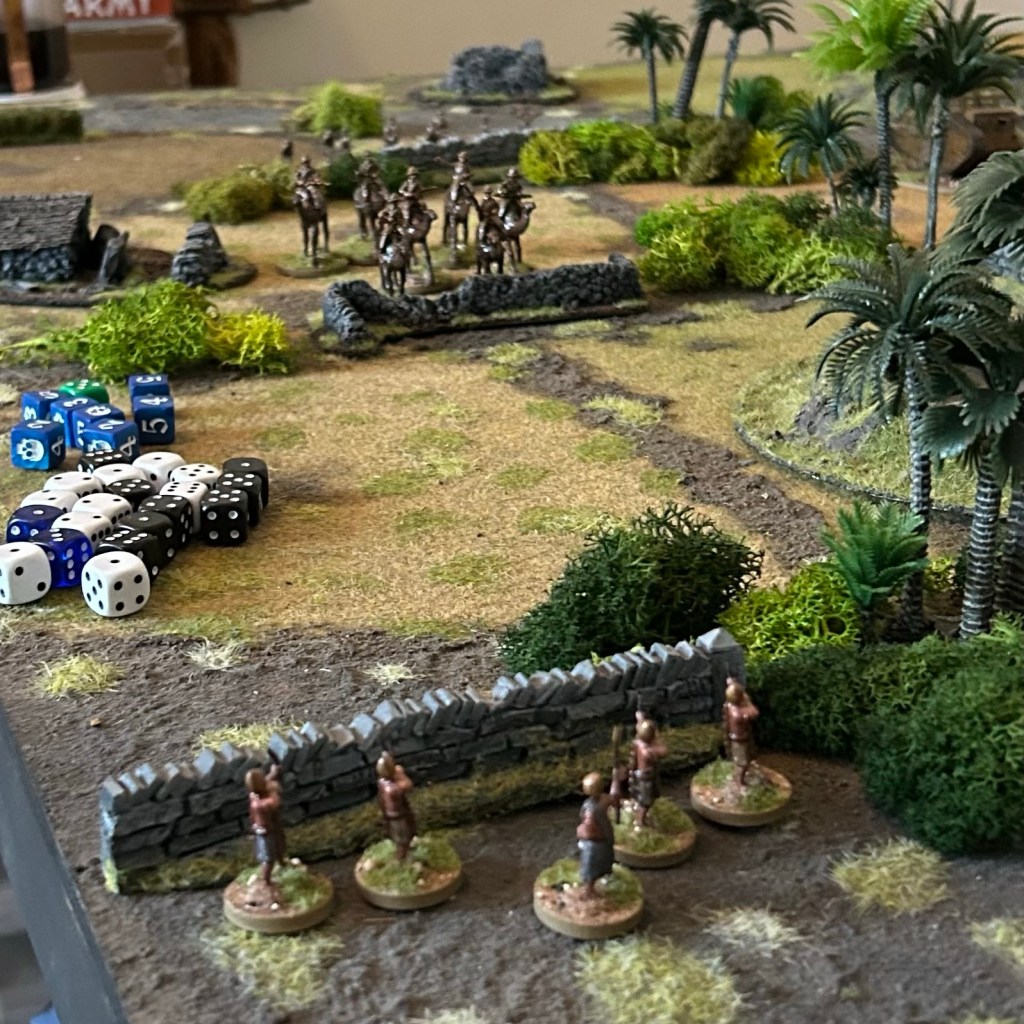
I’m looking forward now to building more forces, and even using these rules for my much ignored, namesake setting Deathzap.
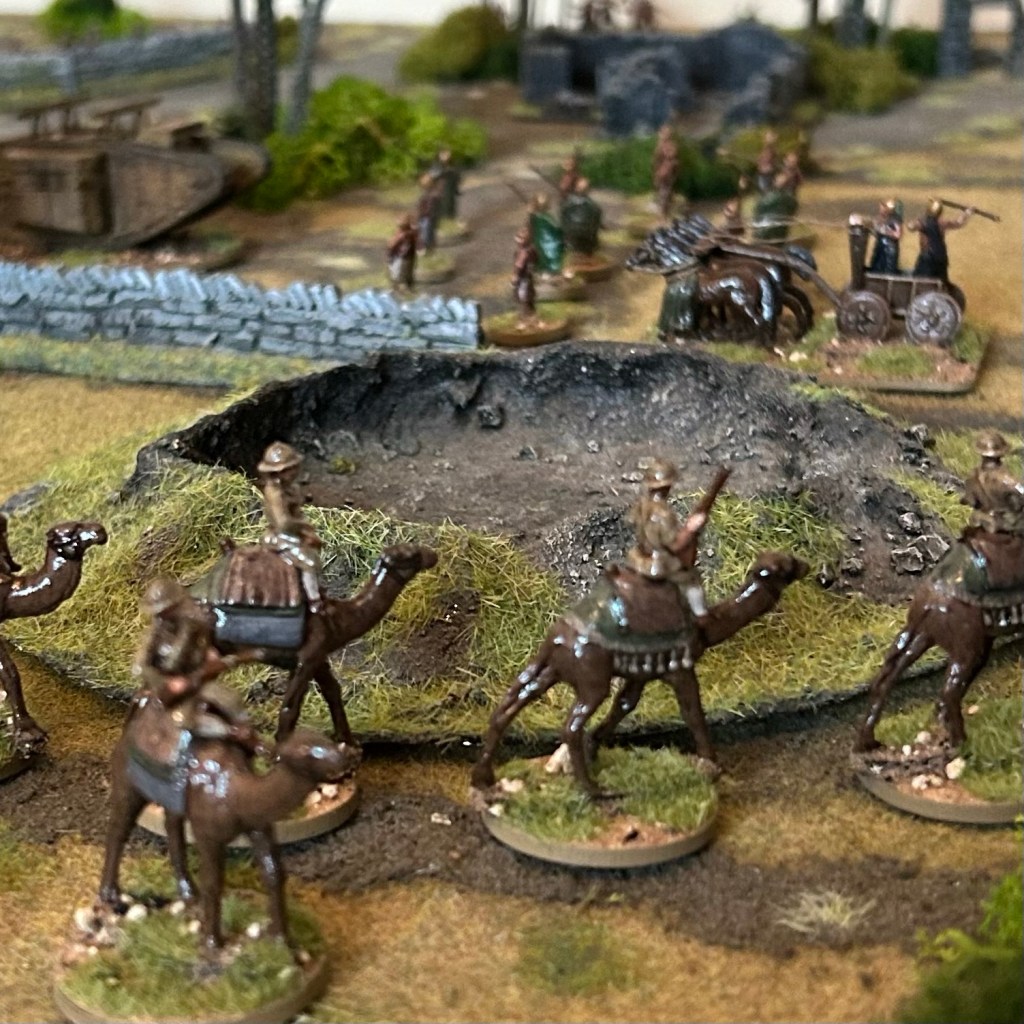
Since you didn’t get a decent look at the MK1 in the pictures above, here she is:
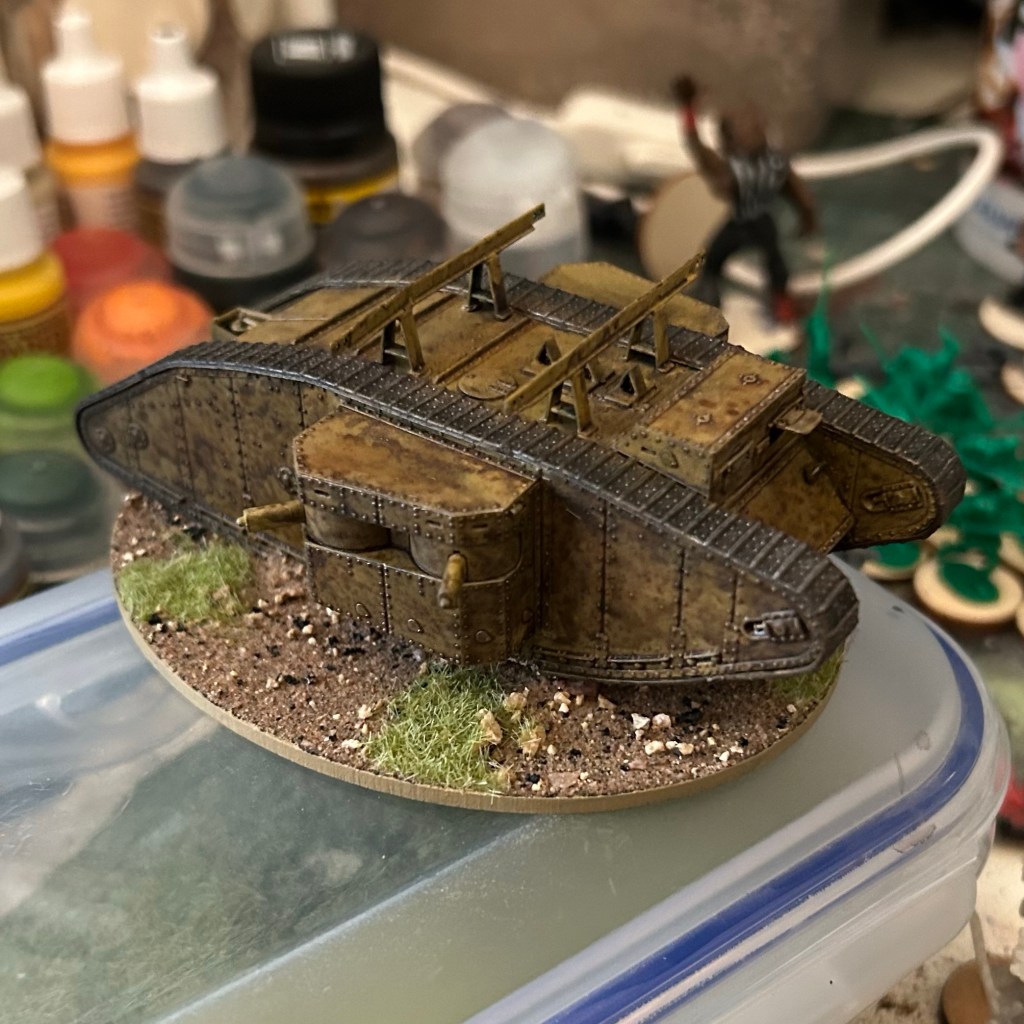
And so the rules, with some alterations since my last post, and with a full points system:
Statlines
Models have 3 stats:
Speed – How far a model can move during their turn.
Range – How far a model’s weapons hit enemy targets at.
Power – A combination of a model’s attack and defence.
Turn Structure
At the start of the game players roll off to determine who gets the first turn. From then on, players alternate taking turns.
During a player’s turn, they can move each of their models once (up to their Speed value), and then attack with each of their models as many times as possible.
Movement
When a model moves its speed is affected by terrain.
To cross an obstacle like a low wall or hedge costs 1”.
When moving through rough terrain, each inch moved counts as two.
Combat
The attacker must select the target enemy that is closest to them, within their range, and that they can see, for models with 0” of range, base contact is required to attack.
The attacker can select the closest enemy model that has no cover if their closest is within cover.
The attacker can select the closest weaker enemy model if their closest has double their power value.
To attack, the attacker rolls 1 die per point of power that they have. Each 4+ is a success and each natural 6 allows another die to be rolled.
The target then does the same.
The model with the highest number of successes wins combat, and if their opponent is within their range, then their opponent is killed. So if the target of the attack wins, but their attacker is not within their range, then the attacker is not killed, the attack just fails.
In the case of a tie, the attacker wins combat and the target is killed.
If a model fights more than once in a single turn (either of its own choosing or because it has been attacked multiple times by enemy models) each time it does so its power value is decreased by 1. During a model’s own turn its power can be decreased to 0, making more attacks impossible. During the opposing side’s turn however, a model’s power can only ever be reduced to 1 (so a model can always put up some kind of defence).
If an attacking model fails to kill a target, and also survives, that model cannot attack again in the same turn.
An attacking model can only select a new target that is within 2” of itself, or was within 2” of its previously killed target.
If a model has cover from the point of view of their attacker, when they are attacked, they can make a saving throw if they lose combat. For soft cover a 5+ will save them. For hard cover a 4+ will save them. If the save is successful the attack has failed. Interviewing models all count as soft cover. If a model have cover from a multiple intervening objects, use the best form for their save.
During a model’s own turn, if it kills an enemy in base contact, that model can then make an extra 2” move to try and get into base contact with another enemy model.
Morale
When a force has lost half of its number of models, at the start of each of their turns, before doing anything else, each model in that force must check its morale. Roll a die for each model in turn, on a 3+ the model is unaffected, on a 1 or 2 the model retreats and is immediately removed from play.
Leaders
One in ten of your models can be designated as a leader. Each model taking a morale check within 6” of a leader passes their morale check on a 2+.
Big Guns and Slow Reloads
Some weapons would struggle to shoot multiple times in quick succession, like cannons, muskets or crossbows. To represent this, the first time a model with such a weapon fights combat it gets a +1 modifier to combat rolls. For each subsequent combat in the same turn the weapon gets a -1 modifier. This rule doesn’t affect the model’s points cost.
Attackers and Defenders
Some units are better on offence than defence and vice versa. Attackers get a +1 modifier to combat rolls during their own turn, and a -1 during their opponent’s. Similarly, Defenders get a -1 modifier to combat rolls during their own turn, and a +1 during their opponent’s. Either rule doesn’t affect the model’s points cost.
Points Values
Forces should be built to a specific points value for games to be balanced, such as 1000pts.
Stat up your models appropriately and then figure out their individual points costs. Combine a selection of your models to make a full force.
Each point of Speed costs 1 point. Speed should only ever be taken as a multiple of 3. Speed can be 0.
Each 3” of range costs 2 points. Range should only ever be taken as a multiple of 3. Range can be 0, meaning base contact is required for an attack to hit.
Each point of power costs 4 points. Power can be a minimum of 1.
Examples:
WW2 Officer armed with Pistol. (Leader) Speed 6”, Range 6”, Power 3. 22 points.
WW2 Soldier armed with Rifle. Speed 6”, Range 24”, Power 2. 6+16+8= 30 points.
T34 Tank. Speed 9”, Range 48”, Power 10. 9+32+40= 81 points.
Medieval Knight in Plate Armour with a Sword and Shield. Speed 6”, Range 0”, Power 4. 6+0+16= 22 points.
I have to admit it’s a tad disconcerting that after all my mulling over a huge list of historical weapons, that the far simpler solution was more effective and gave a faster and more fun result! Though as disconcerting as that may be it’s also far more exciting!


